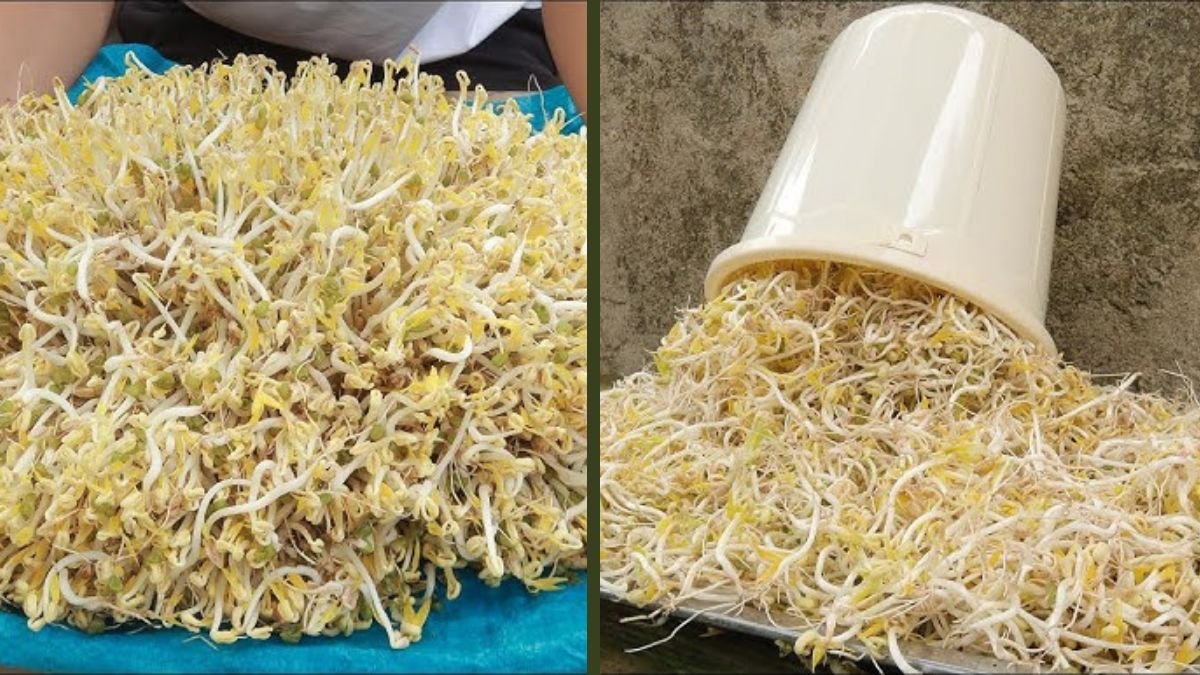
Introduction: Revolutionary Way to Grow Bean Sprouts
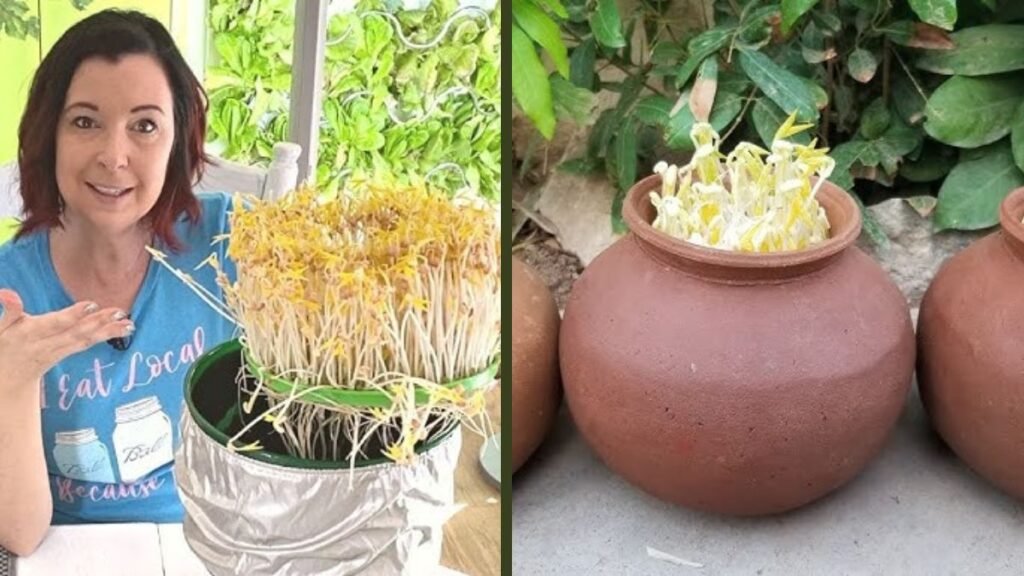
Bean sprouts are a nutritional powerhouse, rich in vitamins, minerals, and antioxidants. Traditionally, growing sprouts requires soil, water, and constant care. But what if you could grow sprouts in terracotta pots without soil or watering? This method is not only innovative but extremely easy for beginners. Terracotta pots naturally absorb moisture from the air and create a humid environment ideal for sprouting. With zero soil and minimal maintenance, you can have fresh sprouts at home. This article guides you step-by-step to grow bean sprouts efficiently in terracotta pots.
Why Terracotta Pots Are Perfect for Sprouts
Terracotta is porous and breathable. It allows air to circulate around seeds, preventing fungal growth. The natural clay material retains ambient moisture. This creates a self-sustaining humid environment. Terracotta pots also maintain a stable temperature for germination. They are eco-friendly and safe for food cultivation. The wide mouth design makes it easy to handle seeds. Pots are reusable and inexpensive. Their natural aesthetics also complement any kitchen or balcony garden.
Benefits of Growing Sprouts Without Soil
Soilless sprouting reduces mess and maintenance. There is no need to sterilize soil or worry about pests. Nutrients come from the seeds themselves, producing clean sprouts. There’s no risk of soil-borne diseases. Sprouts grow faster without soil. Harvesting is easy and hygienic. You save space as no large containers are needed. This method also conserves water compared to traditional sprouting.
Best Beans for Terracotta Sprouting
Not all beans sprout equally well. Popular choices include mung beans, chickpeas, lentils, and soybean seeds. Mung beans grow quickly with high germination rate. Chickpeas produce crunchy sprouts ideal for salads. Lentils are small and sprout evenly. Soybeans yield protein-rich sprouts. Ensure seeds are untreated and organic. Fresh seeds have higher germination potential. Proper selection ensures healthy sprouts.

Preparing Terracotta Pots
Choose pots with holes at the bottom. Clean thoroughly before use. Soak pots in water briefly to pre-condition. This enhances moisture retention. Use a fine mesh or cloth at the base to hold seeds. Place pots in a shallow tray to catch condensation. Avoid plastic lining. Terracotta’s natural breathability is key. Proper preparation improves sprout quality.
Latest Posts
- A Comprehensive Guide to Successfully Growing Grape Vines in Your Backyard for Beginners and Experts Alike
- Best Tips for Successful Mango Growth in Containers
- Discover the Simple Steps for Successfully Growing Coriander in a Pot
- Discovering the Ultimate Guide to Growing African Violets from Leaf Cuttings
- Simple Techniques for Successfully Growing Seedless Grapes in Home Gardens
- Ultimate Guide to Growing Balsam Plants Naturally for Vibrant Blooms
- Discover the Secrets to Growing Lush Leek Leaves with Simple Hacks for Beginners
- How to Successfully Cultivate Sweet Cherries in the Unique Climate of Canada
- The Ultimate Guide to Successfully Growing Beautiful Succulent Garden Plants at Home
- A Comprehensive Guide to Growing Dhania from Seeds for Beginners
Soaking Seeds for Faster Germination
Soak beans for 6-12 hours depending on size. Mung beans require 6 hours, chickpeas 8-12 hours. Discard damaged or floating seeds. Rinse twice before placing in pot. Soaking triggers enzyme activity for rapid sprouting. It also softens seed coat. Avoid over-soaking as seeds may rot. Proper soaking ensures uniform sprouting. This step is essential for success.
Layering Seeds in Terracotta Pots
Spread soaked seeds evenly in a single layer. Avoid overcrowding to allow air circulation. Do not compress seeds. Cover lightly with breathable cloth to retain humidity. Ensure seeds are visible for observation. Layering affects germination rate. Single layer ensures sprouts do not tangle. Monitor seed placement daily. Proper layering prevents mold.
Creating a Humid Environment Naturally
Terracotta absorbs ambient moisture, creating a humid microclimate. Avoid direct sunlight to prevent drying. Place pots in shaded or indoor spots. Covering with a damp cloth enhances humidity. Mist lightly if air is too dry. Temperature around 20-25°C is ideal. Humidity helps rapid root development. Avoid stagnant water accumulation. Controlled moisture ensures healthy sprouts.

No Watering Needed
Unlike traditional sprouting, terracotta pots eliminate daily watering. Moisture absorbed from air keeps seeds hydrated. Sprouts grow naturally without intervention. This reduces labor and risk of overwatering. Less water prevents fungal infections. Minimal handling preserves delicate sprouts. Self-sufficient growth is eco-friendly. This method is ideal for busy gardeners.
Monitoring Growth of Sprouts
Sprouts emerge in 2-5 days depending on bean type. Check daily for mold or dryness. Remove any spoiled seeds immediately. Observe root development through pot’s porous walls. Ensure sprouts remain upright. Gentle shaking redistributes seeds if necessary. Proper monitoring prevents loss. Healthy sprouts grow fast and uniform.
Harvesting Sprouts
Harvest sprouts once they reach 2-3 inches. Cut above base using clean scissors. Avoid pulling to prevent damaging remaining seeds. Rinse before consumption. Sprouts can be used immediately or stored in refrigerator. Regular harvesting encourages continuous sprouting. Cut sprouts retain freshness longer. Frequent harvest ensures consistent supply.
Storing and Consuming Sprouts
Fresh sprouts last 2-3 days in refrigerator. Use airtight container lined with paper towel. Consume raw in salads or sandwiches. Can also be lightly steamed. Avoid prolonged storage to maintain nutrients. Regular consumption supports digestion and immunity. Sprouts are low-calorie superfoods. Proper storage keeps them crisp.

Nutritional Benefits of Bean Sprouts
Bean sprouts are rich in Vitamin C, Vitamin K, iron, and protein. They contain antioxidants that fight free radicals. Sprouts improve digestive health due to fiber content. Low-calorie nature supports weight management. They enhance immunity naturally. Sprouts are easy to digest. Organic sprouts have highest nutrient retention. Daily inclusion boosts overall wellness.
Troubleshooting Common Problems
Mold is the most common issue. Ensure ventilation and spacing. Excess sunlight may dry sprouts. Overcrowding slows germination. Discard damaged seeds promptly. Keep humidity moderate. Avoid plastic covers. Clean pots regularly. Troubleshooting ensures optimal yield.
Comparison Table: Traditional vs Terracotta Sprouting
| Factor | Traditional Soil Sprouting | Terracotta Pot Sprouting |
|---|---|---|
| Soil Requirement | Yes | No |
| Daily Watering | Required | Not Needed |
| Labor | Moderate | Minimal |
| Hygiene | Moderate | High |
| Speed | 4-7 Days | 2-5 Days |
| Space | Moderate | Small |
| Pests | Possible | Rare |
| Cost | Moderate | Low |
Advantages for Urban Gardening
Terracotta pots fit small kitchens, balconies, and rooftops. No soil mess makes it indoor-friendly. Minimal water use saves resources. Easy to monitor. Ideal for apartments. Decorative terracotta also enhances aesthetics. Quick harvest fits busy schedules. Urban households benefit most.
Sustainability and Eco-Friendly Impact
Using terracotta reduces plastic usage. Soil-free method conserves water. Seeds grow naturally without chemicals. Reduces carbon footprint. Biodegradable pots support environment. Promotes sustainable urban farming. Eco-conscious living becomes easier. Perfect for zero-waste enthusiasts.

Creative Uses for Sprouts in Meals
Sprouts add crunch to salads. Can be used in smoothies and soups. Stir-fry or sandwiches benefit from nutrients. Garnish dishes for visual appeal. Make sprouts chutney or wraps. Excellent for vegetarian and vegan diets. Supports healthy cooking. Adds fresh flavor naturally.
Scaling Up for Commercial Use
Terracotta sprouting can be scaled for small business. Multiple pots can produce daily supply. Market fresh sprouts to local stores. Maintain hygiene and quality. Affordable method for startups. Low-risk investment. Nutritional value attracts customers. Urban markets welcome eco-friendly sprouts.
Long-Term Maintenance
Terracotta pots last for years. Clean between cycles. Store in shaded area when not in use. Avoid breaking fragile pots. Regular rotation maintains harvest. Replace worn cloth covers. Monitor storage conditions. Minimal maintenance ensures continuous growth.
Conclusion
Terracotta pots make bean sprouting effortless, soil-free, and watering-free. They are eco-friendly, hygienic, and perfect for home or urban gardeners. Easy monitoring and minimal effort make sprouts accessible daily. Nutritional, sustainable, and beautiful, this method transforms kitchen gardening. Start today and never buy sprouts again.
