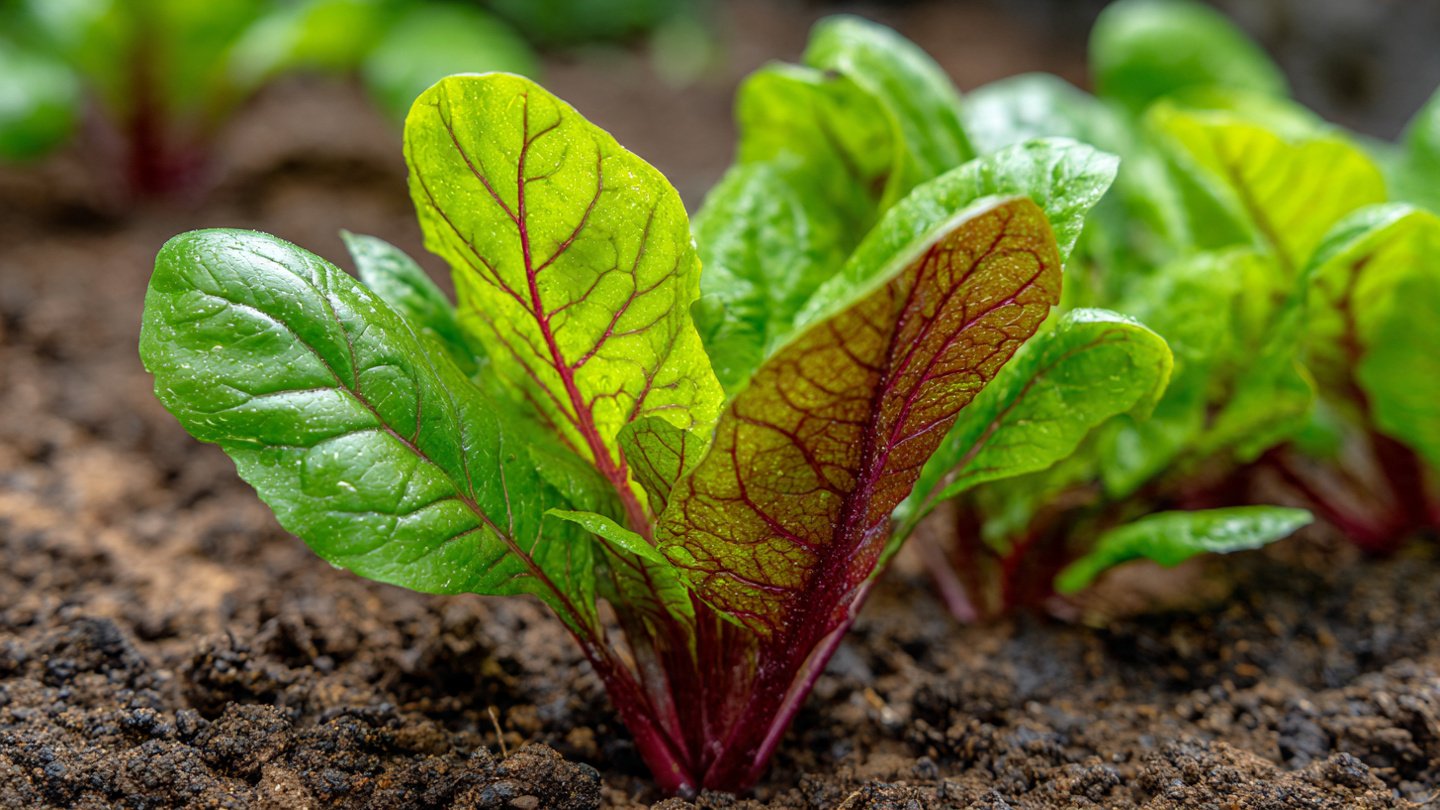
Rocket leaves, also known as arugula, have gained popularity in recent years for their peppery flavor and numerous health benefits. These leafy greens are versatile in the kitchen, making a delightful addition to salads, pizzas, and sandwiches. Growing rocket at home can be an enjoyable and rewarding experience, especially for beginners. This article will guide you through the best methods for cultivating rocket leaves, covering everything from soil selection to harvesting. We’ll also include a FAQs section at the end to address common concerns.
Why Grow Rocket Leaves?
Rocket is not only easy to cultivate, but it also thrives in various climates and can be harvested within weeks. Here are a few reasons why you should consider growing rocket at home:
Latest Posts
- A Comprehensive Guide to Successfully Growing Grape Vines in Your Backyard for Beginners and Experts Alike
- Best Tips for Successful Mango Growth in Containers
- Discover the Simple Steps for Successfully Growing Coriander in a Pot
- Discovering the Ultimate Guide to Growing African Violets from Leaf Cuttings
- Simple Techniques for Successfully Growing Seedless Grapes in Home Gardens
- Ultimate Guide to Growing Balsam Plants Naturally for Vibrant Blooms
- Discover the Secrets to Growing Lush Leek Leaves with Simple Hacks for Beginners
- How to Successfully Cultivate Sweet Cherries in the Unique Climate of Canada
- The Ultimate Guide to Successfully Growing Beautiful Succulent Garden Plants at Home
- A Comprehensive Guide to Growing Dhania from Seeds for Beginners
- Fast Growth: You can typically harvest rocket leaves within 3 to 4 weeks of sowing seeds.
- Nutritional Value: Rocket is high in vitamins A, C, and K, along with essential minerals such as calcium, iron, and potassium.
- Biodiversity: Growing your own greens contributes to biodiversity and environmental sustainability.
- Cost-Effective: Growing rocket at home can save you money compared to buying pre-packaged greens.
Getting Started: Choosing the Right Location
Before you embark on your rocket-growing journey, selecting an appropriate location is crucial. Rocket thrives in well-drained soil and a sunny environment. Here’s what you need to consider:
- Sunlight: Rocket prefers full sun, but it can tolerate partial shade. Aim for at least 4-6 hours of sunlight per day.
- Air Circulation: Ensure that the chosen spot has good air circulation to prevent diseases.
- Ease of Access: Choose a location that is easy to access for regular maintenance, watering, and harvesting.
Soil Preparation
The right soil is fundamental to grow healthy rocket leaves. Follow these steps:
1. Choose the Right Soil Type

- Well-draining Soil: Rocket prefers loamy or sandy soil with a pH of 6.0 to 7.0. You can test the pH using simple home testing kits available in garden centers.
2. Add Nutrients
- Organic Matter: Incorporate compost or well-rotted manure into the soil to provide essential nutrients.
- Fertilizers: A balanced, slow-release fertilizer can be added to increase nutrient availability.
3. Tilling the Soil
- Loosen the Soil: Use a garden fork or tiller to loosen the soil, ensuring good aeration. This process helps roots grow more easily.
Sowing Rocket Seeds
Once the soil is prepared, it’s time to sow the seeds. Here’s how to do it effectively:
1. Seed Selection
Choose organic or heirloom rocket seeds for better flavors and growth.
2. Planting
- Direct Seeding: Sow seeds directly into the garden bed or pots. Space the seeds about 1 inch apart, and cover them lightly with soil.
- Depth: Seeds should be planted about 0.5 inches deep.
- Watering: Water the soil gently after sowing to avoid washing away the seeds.
Watering Guidelines
Rocket leaves require consistent moisture to thrive but don’t overwater them, as this can lead to root rot. Here are some watering tips:

- Frequency: Water when the top inch of soil feels dry. During hot weather, you may need to water daily.
- Method: Use a watering can or hose with a fine spray to avoid washing away seeds or seedlings.
Care and Maintenance
Ongoing care is essential for healthy rocket growth. Here’s what you’ll need to do:
1. Thinning
Once seedlings are about 2-3 inches tall, thin them out to avoid overcrowding. This can be done by snipping the weaker seedlings at soil level, leaving healthy ones spaced about 4-6 inches apart.
2. Weeding
Regularly check for weeds that compete for nutrients and water. Hand-pulling weeds is effective and avoids disturbing the delicate rocket roots.
3. Pest Control
Common pests like aphids and slugs can be problematic. Here are a few methods to keep them at bay:
- Handpicking: Remove pests manually.
- Neem Oil: This organic pesticide is effective against many garden pests.
- Companion Planting: Plants like marigolds can deter detrimental insects.
4. Mulching
Applying a layer of organic mulch (like straw or shredded leaves) around the base of the plants can help retain moisture, suppress weeds, and improve soil quality as it breaks down.

Harvesting Rocket Leaves
Harvesting your rocket leaves is one of the most rewarding parts of growing them. Follow these guidelines:
1. Timing
- When to Harvest: Rocket leaves can be harvested when they are about 3-4 inches tall. If you allow them to grow too large, they can become tough and develop a bitter flavor.
2. Harvesting Technique
- Cutting: Use clean scissors to snip the outer leaves first. This encourages continued growth from the center of the plant.
- Frequency: You can harvest leaves multiple times throughout the growing season. Be mindful not to take more than one-third of the plant at a time.
3. Additional Harvesting Options
- Baby Greens: For a milder taste, harvest young leaves often referred to as baby rocket. These are ideal for salads.
Continual Growth
With regular care, you can grow multiple batches of rocket throughout the season. Consider the following tips for continual growth:
1. Successive Sowing
Sow new seeds every few weeks for a continuous harvest. This method ensures that you always have fresh rocket leaves available.
2. Crop Rotation
If planting in a garden bed, practice crop rotation by alternating where you plant rocket with different crops to maintain healthy soil and minimize pests.

Storing Harvested Rocket Leaves
Timely storage is crucial once you harvest your rocket leaves. Here are some storage tips:
1. Refrigeration
- Wash and Dry: Gently rinse the leaves in cold water, then dry them thoroughly using a salad spinner or kitchen towel.
- Storage Container: Place them in a breathable container, like a cloth bag, or wrap them in a damp paper towel and store them in the crisper drawer of your refrigerator. This can extend their freshness for up to a week.
2. Freezing
If you have a larger crop than you can consume at once, consider freezing the leaves:
- Blanching: Quickly blanch the leaves in boiling water for about 30 seconds, then transfer them to an ice bath to preserve color and texture.
- Storing: Once cooled, pack the leaves into freezer bags, removing as much air as possible to prevent freezer burn.
FAQs about Growing Rocket Leaves
1. How long does it take for rocket leaves to grow?
Rocket leaves typically take 3-4 weeks to reach a harvestable height.
2. Can rocket be grown indoors?
Yes, rocket can be grown indoors in pots or containers. Ensure they receive adequate sunlight or use grow lights.
3. What is the best time of year to plant rocket?

Rocket is a cool-season crop, best planted in the spring or fall. It can bolt and become bitter in hot weather.
4. How can I improve the flavor of rocket leaves?
Growing conditions such as adequate sunlight, watering, and proper spacing can enhance flavor. Additionally, harvesting young leaves often yields a milder taste.
5. Do rocket leaves attract pests?
Yes, rocket can attract pests like aphids and slugs. Implementing companion planting and organic pest control methods can help mitigate this issue.
6. Can I eat rocket leaves raw?
Absolutely! Rocket leaves are often enjoyed fresh in salads, sandwiches, or as garnishes.
7. What are some good companion plants for rocket?
Plants like radishes, carrots, and beets can be excellent companions for rocket, as they do not compete for resources.
Conclusion
Growing rocket leaves at home is a fulfilling pursuit for beginners and seasoned gardeners alike. With an optimal location, suitable soil, consistent care, and timely harvesting, you can enjoy fresh, nutritious, and flavorful rocket leaves all season long. Whether in salads or cooked dishes, your homegrown rocket is sure to elevate your culinary experience. Happy gardening!