Snake plants, also known as Sansevieria or mother-in-law’s tongue, are popular houseplants due to their architectural beauty, low maintenance requirements, and air-purifying capabilities. Growing snake plants from leaf cuttings is a rewarding process that not only allows you to increase your indoor greenery but also provides an opportunity to nurture and care for these resilient plants. This article will guide you through the steps of successfully propagating snake plants from leaf cuttings, ensuring their thriving presence in your home.
What Makes Snake Plants Special?
Before diving into propagation, let’s take a moment to appreciate what makes snake plants so special:
Latest Posts
- A Comprehensive Guide to Successfully Growing Grape Vines in Your Backyard for Beginners and Experts Alike
- Best Tips for Successful Mango Growth in Containers
- Discover the Simple Steps for Successfully Growing Coriander in a Pot
- Discovering the Ultimate Guide to Growing African Violets from Leaf Cuttings
- Simple Techniques for Successfully Growing Seedless Grapes in Home Gardens
- Ultimate Guide to Growing Balsam Plants Naturally for Vibrant Blooms
- Discover the Secrets to Growing Lush Leek Leaves with Simple Hacks for Beginners
- How to Successfully Cultivate Sweet Cherries in the Unique Climate of Canada
- The Ultimate Guide to Successfully Growing Beautiful Succulent Garden Plants at Home
- A Comprehensive Guide to Growing Dhania from Seeds for Beginners
-
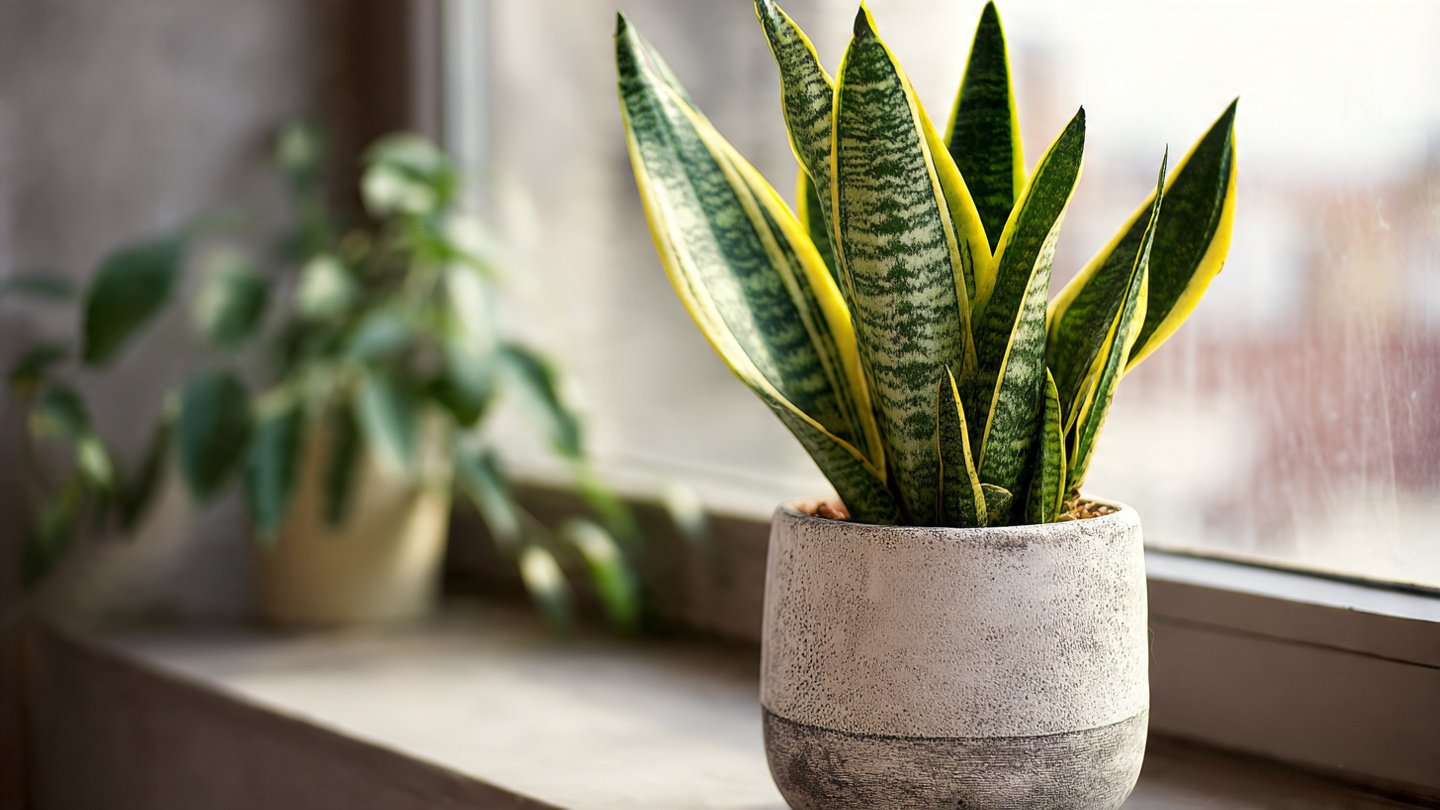
Aesthetic Appeal: With their long, sword-like leaves and unique variegation, snake plants make a statement in any space. They can complement any interior design style, from minimalism to bohemian.
-
Air Purification: Studies by NASA have found that snake plants can filter toxins such as formaldehyde and benzene from the air, contributing to a healthier living environment.
-
Non-Toxic: Unlike many houseplants, snake plants are non-toxic to humans and pets, making them an excellent choice for families.
-
Low Maintenance: Snake plants can thrive in a variety of lighting conditions and require minimal watering, making them suitable for novice gardeners.
Tools and Materials Needed
To grow a thriving snake plant from leaf cuttings, you will need the following tools and materials:
- Healthy Snake Plant: Obtain a healthy snake plant from a nursery or a friend for leaf cuttings.
- Sharp Knife or Scissors: Use a sterile, sharp knife or scissors to ensure clean cuts.
- Potting Soil: Choose a well-draining potting mix, ideally one suited for succulents or cacti.
- Containers: Small pots or trays will work well for starting your cuttings.
- Water: Filtered or distilled water is preferred for rooting.
- Rooting Hormone (optional): A substance that may help speed up the rooting process.
- Light Source: A bright, indirect light area is ideal for the cuttings.

Step-by-Step Guide to Propagating Snake Plants From Leaf Cuttings
Step 1: Selecting and Preparing the Cuttings
-
Choose a Healthy Leaf: Select a healthy, mature leaf from your snake plant. The leaf should be firm and free from blemishes or signs of disease.
-
Make the Cut: Using a sharp knife or scissors, cut the leaf at the base near the soil level. Ideally, the cutting should be at least 4-6 inches long.
-
Cut into Sections: To increase your success rate, you can cut the leaf into smaller sections, each at least 4 inches long. Make sure to label the sections if you’re using different varieties to keep track of them.
-
Orientation Matters: Remember that the cut sections must be placed in the soil in the same orientation as they were on the plant. The bottom (cut end) should go into the soil, while the top remains exposed.
Step 2: Allowing Cuttings to Callus

- Drying Time: Place the cut ends of your leaf sections in a dry location out of direct sunlight. Allow them to callus over for 1-2 days. This step is crucial as it helps prevent rot when you plant them.
Step 3: Planting the Cuttings
-
Prepare Your Containers: Fill small containers or pots with well-draining potting soil. You can also mix in some sand or perlite to enhance drainage.
-
Planting the Cuttings: Insert the callused end of the leaf cutting into the potting soil, burying about an inch deep. Make sure the cutting is stable and upright.
-
Water Sparingly: Lightly water the soil to reduce stress on the cuttings. Ensure the soil is damp but not soggy. Overwatering can lead to rot.
Step 4: Providing the Right Environment
-
Light Conditions: Place your containers in a spot with bright, indirect light. Avoid direct sunlight, as it can scorch young cuttings.
-
Temperature and Humidity: Snake plants prefer temperatures between 60-80°F (15-27°C). They thrive in low humidity but will enjoy a slightly higher humidity level if available.
-
Covering (Optional): If your environment is very dry, consider covering the cuttings with a clear plastic bag or a plastic dome to create a mini-greenhouse effect. Make sure to remove it periodically to allow for air circulation and prevent mold growth.
Step 5: Caring for Your Cuttings

-
Watering Routine: Water sparingly during the first few weeks. Allow the top inch of soil to dry out before watering again. Once you see new growth, you can gradually increase watering.
-
Fertilizing: After about a month, you can begin fertilizing with a diluted liquid houseplant fertilizer every 4-6 weeks during the growing season (spring and summer). Avoid fertilizing in the fall and winter when growth slows.
Step 6: Transplanting
If your cuttings take root (which usually takes 4-6 weeks), you’ll notice new growth appearing. Once you see new shoots or leaves, it’s a good sign that your cuttings have developed roots:
-
Checking for Roots: After about a month, gently tug on the cutting to see if there is resistance — that indicates root growth.
-
Transplanting: Once rooted, you can transplant them into larger pots if desired. Be gentle during this process to avoid rooting damage.
Common Problems and Solutions
-
Overwatering: Too much water can be detrimental, leading to root rot. Ensure the soil is well-draining and always allow the top inch of soil to dry out between waterings.
-
Underwatering: If the leaves start to curl or appear dry and crispy, it’s a sign they need more water. Adjust your watering schedule accordingly.
-
Pests: While snake plants are relatively pest-resistant, check for common pests such as mealybugs or spider mites. Use a cotton swap dipped in rubbing alcohol to remove them.

Maintenance and Long-Term Care
Once your snake plant has established itself, general maintenance is minimal.
- Repotting: Consider repotting every 1-2 years to refresh the soil and provide more room for growth.
- Cleaning: Occasionally wipe down the leaves with a damp cloth to remove dust and enhance photosynthesis.
- Lighting Adjustments: Over time, be aware of any changes in your home’s lighting and adjust the plant’s position if necessary.
FAQs
1. How long does it take for snake plant cuttings to root?
Typically, snake plant cuttings can take 4-6 weeks to root, depending on environmental conditions.
2. Can I propagate my snake plant in water?
Yes, you can place cuttings in water; however, it’s generally better to propagate in soil as snake plants prefer it and experience less shock during the transition.
3. Do I need rooting hormone for snake plant cuttings?
While not necessary, using rooting hormone can help speed up root development and improve your success rate.

4. How do I know if my cuttings are healthy?
Healthy cuttings should feel firm, show no signs of rot, and if they do start to grow new shoots, that’s a good indicator they’re thriving.
5. What are the ideal conditions for growing snake plants?
Snake plants prefer bright, indirect sunlight and thrive in temperatures between 60-80°F (15-27°C).
6. How often should I water my snake plant?
Water sparingly, allowing the top inch of soil to dry out between waterings. During the growing season, this may extend to every few weeks.
7. Can I grow snake plants indoors?
Absolutely! Snake plants are perfect indoor plants, known for their ability to tolerate low light and improve indoor air quality.
Conclusion
Growing snake plants from leaf cuttings is a fulfilling endeavor that enhances your home environment with beauty and health benefits. With the proper care and attention, you can successfully propagate these hardy plants and enjoy the tranquility they bring to your space. Whether you’re a beginner or a seasoned gardener, snake plants are sure to thrive in your care!