African violets (Saintpaulia) are beloved houseplants that bring a vibrant splash of color indoors. With their soft, fuzzy leaves and stunning flowers, they are a popular choice for both novice and seasoned gardeners. Although these plants can be grown from seeds or divisions, propagating African violets from leaf cuttings is a simple and effective method. In this guide, we will explore the step-by-step process for growing African violets from leaf cuttings, along with tips for ensuring your success.
Understanding African Violets
Before diving into propagation techniques, it’s essential to understand what makes African violets unique. Native to the rainforests of Tanzania and Uganda, these perennials thrive in humid environments with indirect sunlight. While they may be temperamental at times, a bit of understanding and care can turn anyone into a successful African violet grower.
Latest Posts
- A Comprehensive Guide to Successfully Growing Grape Vines in Your Backyard for Beginners and Experts Alike
- Best Tips for Successful Mango Growth in Containers
- Discover the Simple Steps for Successfully Growing Coriander in a Pot
- Simple Techniques for Successfully Growing Seedless Grapes in Home Gardens
- Ultimate Guide to Growing Balsam Plants Naturally for Vibrant Blooms
- Discover the Secrets to Growing Lush Leek Leaves with Simple Hacks for Beginners
- How to Successfully Cultivate Sweet Cherries in the Unique Climate of Canada
- The Ultimate Guide to Successfully Growing Beautiful Succulent Garden Plants at Home
- A Comprehensive Guide to Growing Dhania from Seeds for Beginners
- Simple and Effective Methods for Jade Plant Propagation at Home
Characteristics of African Violets
-
Leaves: Fuzzy and heart-shaped, African violet leaves can come in various shades of green. Healthy leaves are a vital element when propagating from cuttings.
-
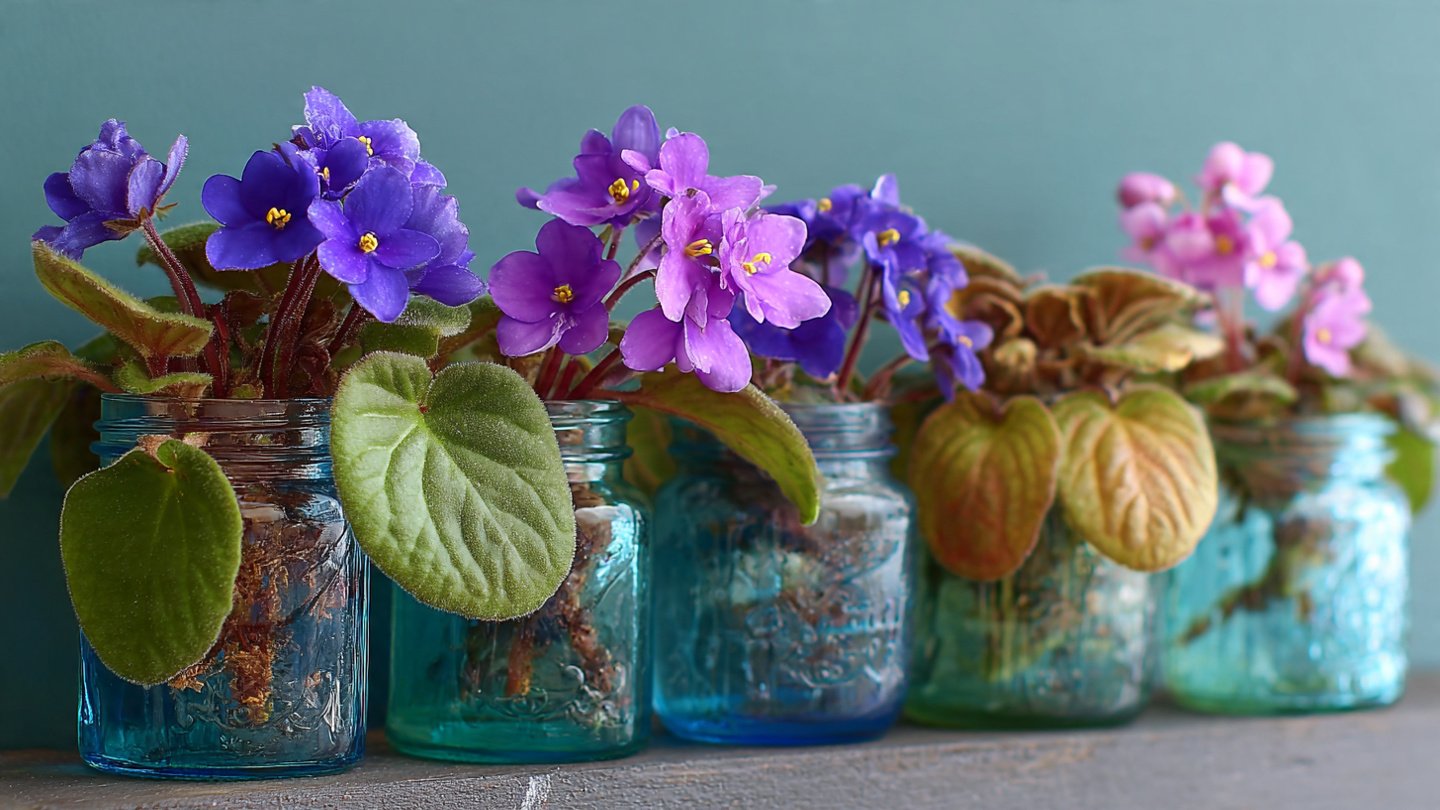
Flowers: The blooms can range from white to deep purple, with many varieties featuring stripes, spots, or ruffled edges. Flowers typically bloom in clusters, enhancing the plant’s ornamental value.
-
Growth Habit: They generally grow to about 6–12 inches tall and can spread 12–18 inches wide, making them suitable for small spaces.
Why Propagate from Leaf Cuttings?
Propagating African violets from leaf cuttings has several benefits:
- Cost-effective: You can multiply your plants without purchasing new ones.
- Preservation of Varieties: Leaf cuttings allow you to maintain the unique characteristics of a particular variety.
- Simplicity: It’s an easy and straightforward process, making it perfect for beginners.

Step-by-Step Guide to Growing African Violets from Leaf Cuttings
Step 1: Selecting the Right Leaf
The first step in propagating African violets is choosing the right leaf for cutting. Here are some tips to consider:
- Choose Healthy Leaves: Select leaves that are vibrant green, firm, and free from any signs of disease or pests.
- Mature Leaves: Opt for mature leaves, as they are more likely to produce successful cuttings.
- Avoid Damage: Ensure the leaf is intact and has not been bruised or damaged.
Step 2: Preparing the Cutting
Once you’ve selected your leaf, follow these steps to prepare it for propagation:
-
Cut the Leaf: Using a clean, sharp knife or scissors, cut the leaf about 2–4 inches from the base, ensuring that you include a small piece of the petiole (the leaf stem).
-
Trim the Leaf: To minimize moisture loss, trim the leaf by cutting it in half or creating a V-shape at the edges. This helps the cutting focus its energy on root development.

Step 3: Rooting the Leaf Cutting
There are two primary methods to propagate the cutting: in water or in soil.
Method 1: Water Propagation
- Prepare the Water: Fill a clean glass or jar with water, ensuring it’s at room temperature. Avoid chlorinated water as it can hinder root growth.
- Submerge the Cutting: Place the leaf cutting in the water, ensuring that the petiole is submerged while the leaf itself stays above water.
- Positioning: Find a spot with indirect sunlight. Direct sunlight may cause the leaf to rot.
- Change the Water: Change the water every few days, ensuring it remains clean and fresh.
Method 2: Soil Propagation
- Choose the Right Soil: Use a light, well-draining potting mix or a mixture specifically designed for African violets.
- Prepare the Pot: Fill a small pot with the potting mix, leaving about an inch of space at the top.
- Insert the Cutting: Insert the petiole into the soil about 1–2 inches deep, making sure the leaf is resting on the surface.
- Watering: Mist the soil lightly but do not saturate it. Cover the pot with a clear plastic bag or a humidity dome to maintain moisture.
- Placement: Like in the water method, keep your pot in a location with indirect sunlight.
Step 4: Providing the Right Environment

To encourage healthy growth, monitor the environment in which your cuttings are placed:
- Humidity: African violets thrive in high humidity. A humidity dome or plastic bag can help maintain the humidity levels.
- Temperature: Keep the temperature stable, ideally between 65°F and 75°F (18°C – 24°C).
- Light: Provide bright, indirect light, as direct sunlight can scorch the leaves.
Step 5: Waiting for Roots to Develop
Be patient! Rooting can take anywhere from a few weeks to a couple of months, depending on the variety and conditions. You’ll know that the roots have developed when you observe new leaves sprouting from the base of the cutting.
Step 6: Transplanting
Once the cutting has rooted and new leaves are visible, it’s time to transplant:
- Choose a Pot: Select a pot that is slightly larger than the current one.
- Soil Mix: Fill the new pot with fresh potting mix.
- Transplant: Carefully remove the rooted cutting from the previous pot or jar and place it in its new home, filling in gaps with soil.
- Water: Water lightly and place the pot back in a warm location with indirect sunlight.
Step 7: Caring for Your New African Violet Plant

Once your African violet is established, care for it by:
- Watering: Water from the bottom to avoid getting the leaves wet, which can lead to rot.
- Fertilizing: Use a balanced fertilizer every 4-6 weeks during the growing season.
- Pruning: Regularly remove dead leaves and faded flowers to encourage healthy growth.
Frequently Asked Questions (FAQs)
Q1: How long does it take for African violet cuttings to root?
A1: Rooting can take anywhere from 3 to 8 weeks, depending on environmental conditions and the health of the cutting.
Q2: What type of water is best for rooting African violets in water?
A2: Use distilled or rainwater to avoid any chemicals that may be found in tap water, such as chlorine.
Q3: Can I propagate African violets in soil instead of water?
A3: Yes, soil propagation is a common method and can be equally successful when done properly.
Q4: How do I know if my cutting is healthy?
A4: A healthy cutting will appear vibrant and firm, with no signs of browning or wilting.

Q5: Can I propagate leaves from flowering African violets?
A5: Yes, you can propagate flowering African violets, but choosing non-flowering leaves often results in healthier cuttings.
Q6: What should I do if my leaf cutting starts to rot?
A6: Remove the cutting immediately, clean the area to prevent spreading rot, and try again with a new leaf.
Q7: When should I transplant my rooted cutting?
A7: Once you see new leaves emerging and roots that are at least a couple of inches long, you can transplant the cutting.
Conclusion
Growing African violets from leaf cuttings is a rewarding process that can enhance your indoor space with lovely blooms and lush foliage. By following this ultimate guide, you can unlock the secrets of successful propagation. With patience and the right conditions, your African violet collection will flourish, bringing joy and beauty into your home for years to come. Happy gardening!