Strawberries are a delightful addition to any garden, providing sweet, juicy fruits that can be enjoyed fresh, in desserts, or in preserves. Growing strawberries from runners is a straightforward, rewarding project that can yield delicious results. This guide will walk you through the process step-by-step, ensuring your homegrown strawberries flourish.
What Are Strawberry Runners?
Strawberry runners are the long, slender stems that grow out from the parent plant. These runners can take root and develop into new strawberry plants, making them an excellent way to propagate strawberries with minimal effort. By using runners, you can quickly increase your strawberry yield without having to start from seeds.
Latest Posts
- A Comprehensive Guide to Successfully Growing Grape Vines in Your Backyard for Beginners and Experts Alike
- Best Tips for Successful Mango Growth in Containers
- Discover the Simple Steps for Successfully Growing Coriander in a Pot
- Discovering the Ultimate Guide to Growing African Violets from Leaf Cuttings
- Simple Techniques for Successfully Growing Seedless Grapes in Home Gardens
- Ultimate Guide to Growing Balsam Plants Naturally for Vibrant Blooms
- Discover the Secrets to Growing Lush Leek Leaves with Simple Hacks for Beginners
- How to Successfully Cultivate Sweet Cherries in the Unique Climate of Canada
- The Ultimate Guide to Successfully Growing Beautiful Succulent Garden Plants at Home
- A Comprehensive Guide to Growing Dhania from Seeds for Beginners
Step-by-Step Guide to Growing Strawberries from Runners
Step 1: Choose the Right Strawberry Variety
Before you begin, it’s essential to select the right variety of strawberries. The most common types are:
- June-Bearing: Produce a large crop in late spring or early summer.
- Ever-Bearing: Yield fruit throughout the growing season, peaking in late spring and again in late summer.
- Day-Neutral: Continue producing flowers and fruit all summer, regardless of day length.
Step 2: Prepare Your Growing Area
Select a location that receives full sun for at least six to eight hours a day. Ensure the soil is well-draining, rich in organic matter, and has a pH level between 5.5 and 6.8. If your soil is not ideal, consider using raised beds or containers.

Soil Preparation:
- Test the soil pH and amend it as necessary.
- Mix in compost or well-rotted manure to improve soil quality.
Step 3: Harvesting Runners
Once your strawberry plants are established (usually in the second season), you can begin to look for runners. Here’s how to harvest them effectively:
- Identify Healthy Runners: Look for strong, healthy runners with visible small root nodes.
- Timing: The best time to cut runners is in late spring or early summer when the parent plant is actively growing.
- Cut the Runners: Using clean scissors, cut the runner about 2-3 inches from the parent plant. Leave the small root nodes intact for easier propagation.
Step 4: Rooting the Runners
After harvesting, it’s time to root the runners. Follow these steps for successful rooting:
- Select Planting Containers: Use individual pots or a tray with several small cells.
- Fill with Potting Mix: Fill the containers with a well-draining potting mix.
- Plant the Runners: Place the runners into the soil, burying them slightly. Ensure that the small root nodes make good contact with the soil.
- Water Lightly: Water the runners gently to settle the soil around the roots, avoiding waterlogging.

Step 5: Provide the Right Conditions
Once planted, provide the right growing conditions to encourage root development:
- Moisture: Keep the soil slightly moist but not soggy. Overwatering can lead to root rot.
- Light: Place the containers in a location that receives indirect sunlight for several days. Gradually introduce them to full sunlight as they become established.
- Temperature: Maintain a comfortable temperature between 65°F and 75°F (18°C to 24°C).
Step 6: Transplanting to the Garden or Containers
Once the runners have developed a robust root system (this may take 4-6 weeks), it’s time to transplant them:
- Choosing a Location: Select a spot in your garden or larger containers that maintain that ideal 6-8 hours of sunlight.
- Digging Holes: Dig holes that are wide and deep enough to accommodate the roots without crowding.
- Transplanting: Carefully remove the runners from the pots, taking care not to damage the roots. Place them in the holes and backfill with soil, ensuring the crown (the point where leaves meet the roots) is level with the soil surface.
- Watering: Water thoroughly after transplanting and continue to keep the soil moist for the first week.

Step 7: Care and Maintenance
Once your strawberry plants are established, ongoing care is crucial for their success:
- Watering: Keep the soil consistently moist, particularly during flowering and fruiting seasons.
- Fertilizing: Apply a balanced fertilizer every few weeks during the growing season to promote healthy growth and fruit production.
- Mulching: Use straw, wood chips, or biodegradable materials to keep the soil temperature consistent, suppress weeds, and retain moisture.
Step 8: Pest and Disease Management
Regularly check your plants for signs of pests like aphids, slugs, and snails, as well as diseases such as gray mold or root rot:
- Natural Insect Control: Introduce beneficial insects, such as ladybugs, or apply insecticidal soap as needed.
- Proper Spacing: Ensure plants are spaced adequately to promote air circulation, reducing the risk of disease.
- Rotation: Consider rotating your strawberry beds each year to avoid soil-borne diseases.
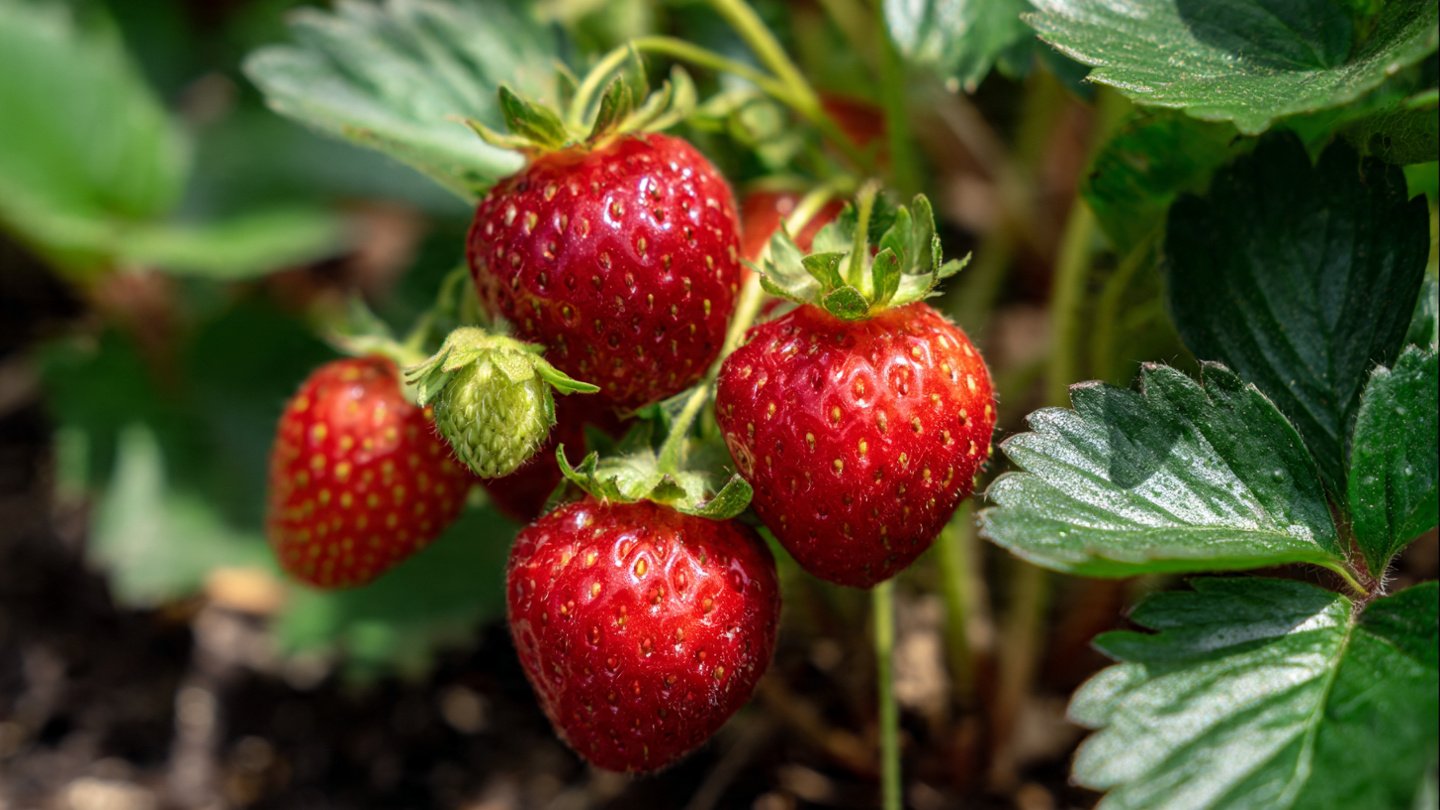
Step 9: Harvesting Strawberries
As your strawberry plants mature, the excitement of harvesting will begin! Follow these tips for the best results:

- Timing: Harvest when the berries are fully colored, typically in late spring to early summer, depending on the variety.
- Technique: Gently twist or cut the berries from the stem. Avoid pulling them, as this can damage the plant.
- Storage: Store strawberries in a cool, dry place. They can be refrigerated for a few days but are best eaten fresh.
FAQs
1. Can I grow strawberries in containers?
Yes! Strawberries grow exceptionally well in containers. Just ensure the container is at least 12 inches deep and has drainage holes.
2. How long does it take for runners to produce fruit?
Typically, it takes about 4-6 weeks for runners to establish roots, and they will usually produce fruit within the same growing season if planted early enough.
3. What is the best time to plant strawberry runners?
The best time to plant strawberry runners is in spring after the last frost, or in late summer for varieties that will bear fruit the following spring.
4. Do strawberries need pollination?
Most strawberry varieties are self-pollinating, but they can benefit from cross-pollination. Planting multiple varieties nearby can enhance fruit production.

5. How often should I water my strawberry plants?
Strawberries need consistent moisture, especially during flowering and fruiting. Water them at least once a week, ensuring the soil remains evenly moist.
6. How can I protect my strawberries from pests?
Regularly inspect your plants and apply organic pest control methods, such as introducing beneficial insects or using homemade sprays made from garlic or neem oil.
7. Can I grow strawberries indoors?
Yes, strawberries can be grown indoors with adequate light from grow lights. Choose smaller varieties suitable for pots, such as ever-bearing types.
Conclusion
Growing strawberries from runners is a fulfilling way to enjoy homegrown fruits. Follow these steps and ensure proper care and maintenance, and you’ll be rewarded with delicious berries that can enhance your garden and palate. With a little patience and attention, you’ll soon enjoy your homegrown strawberries!