The Croton plant (Codiaeum variegatum) is renowned for its stunning, vibrant foliage that adds a splash of color to any indoor space. With varieties showcasing shades of yellow, red, green, and even purple, it’s no wonder that many plant lovers want to multiply their collection. Fortunately, propagating Croton plants can be quite straightforward and rewarding. This article will delve into simple methods for propagating your Croton plant at home and provide answers to common questions.
Understanding Croton Plants
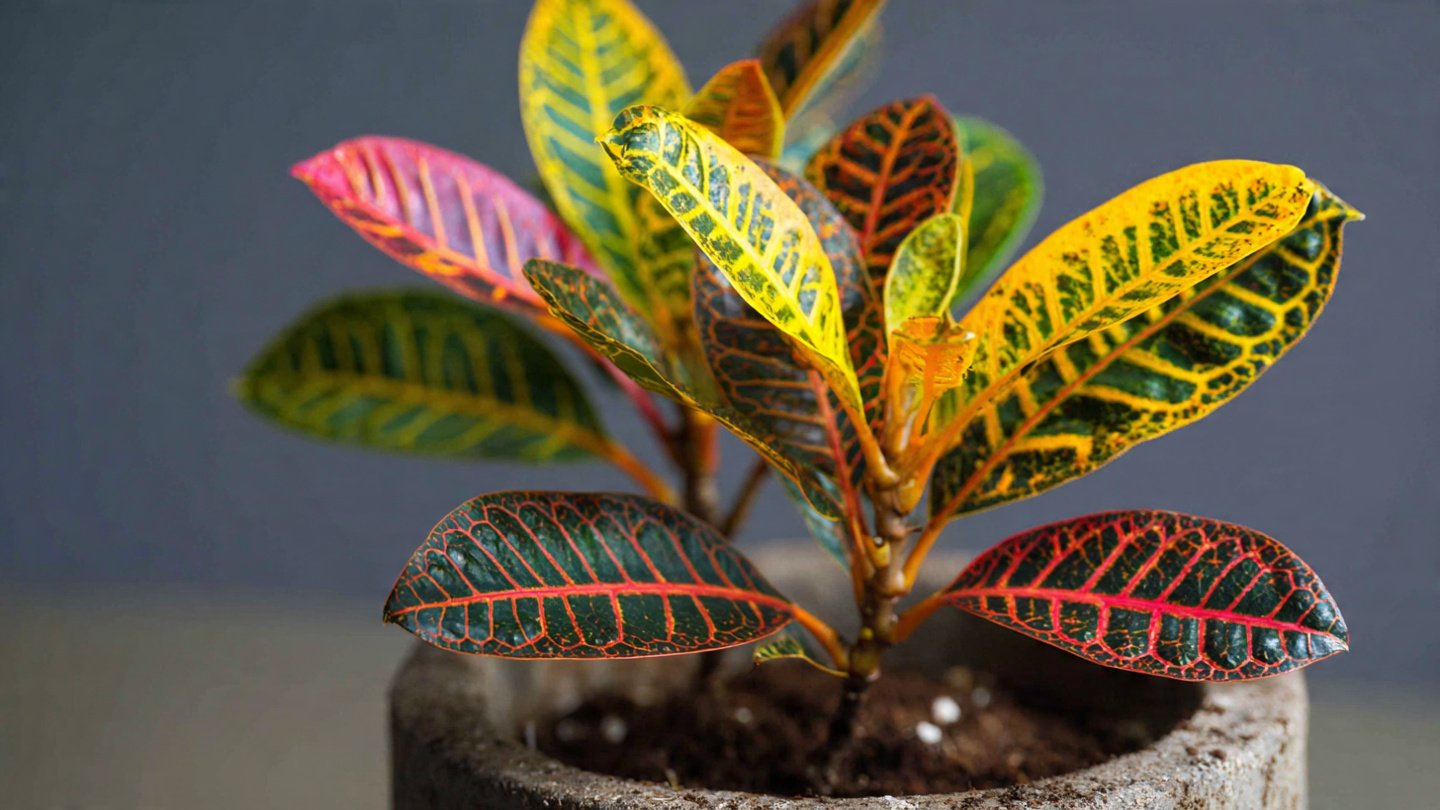
Before diving into propagation, it’s crucial to understand the Croton plant. Originally from tropical regions of Southeast Asia, the Croton is celebrated for its intricate leaves and striking colors. The plant thrives in bright, indirect sunlight and prefers a warm, humid environment. Thus, when planning to propagate, take note of these conditions for optimal growth and success.
Latest Posts
- A Comprehensive Guide to Successfully Growing Grape Vines in Your Backyard for Beginners and Experts Alike
- Best Tips for Successful Mango Growth in Containers
- Discover the Simple Steps for Successfully Growing Coriander in a Pot
- Discovering the Ultimate Guide to Growing African Violets from Leaf Cuttings
- Simple Techniques for Successfully Growing Seedless Grapes in Home Gardens
- Ultimate Guide to Growing Balsam Plants Naturally for Vibrant Blooms
- Discover the Secrets to Growing Lush Leek Leaves with Simple Hacks for Beginners
- How to Successfully Cultivate Sweet Cherries in the Unique Climate of Canada
- The Ultimate Guide to Successfully Growing Beautiful Succulent Garden Plants at Home
- A Comprehensive Guide to Growing Dhania from Seeds for Beginners
Benefits of Propagating Croton
- Cost-Effective: Instead of purchasing new plants, you can create new ones from cuttings.
- Personalized Varieties: Propagation allows you to experiment with different Croton varieties, creating a unique collection.
- Gift Ideas: Propagated plants make thoughtful gifts for friends and family.
Methods of Propagating Croton Plants
1. Stem Cuttings
One of the most effective methods for propagating Croton plants is through stem cuttings. Here’s a step-by-step guide:
Step 1: Select the Right Cutting
Choose a healthy stem that has several leaves. A cutting of about 6 to 8 inches is usually ideal, preferably taken from the top of the plant where growth is most vigorous.
Step 2: Cut the Stem
Using a clean, sharp knife or scissors, cut the stem just below a leaf node (where the leaf meets the stem). This area encourages root growth.
Step 3: Remove Lower Leaves

Trim off any lower leaves, leaving only a few at the top. This reduces moisture loss and directs energy toward root development.
Step 4: Prepare the Potting Mix
Use a well-draining potting mix. You can use a combination of potting soil, perlite, and peat moss for optimal results.
Step 5: Plant the Cutting
Insert the cutting into the potting mix, burying it about 2 inches deep. Firm the soil around it to eliminate air pockets.
Step 6: Water the Cutting
Gently water the cutting, ensuring the soil is moist but not soggy. Overwatering can lead to rot.
Step 7: Create a Humid Environment
To encourage rooting, cover the cutting with a plastic bag or a clear plastic dome to create humidity. Make sure to open it occasionally to prevent mold growth.
Step 8: Wait for Roots to Develop
Place the pot in bright, indirect sunlight, and in a few weeks, you should see new growth. Once roots are well established, you can transition the plant to a larger pot.
2. Water Propagation
Water propagation is another straightforward method, especially for beginners.
Step 1: Take a Stem Cutting
Follow the same procedure as above to take a 6 to 8-inch stem cutting, ensuring it has healthy leaves.

Step 2: Place in Water
Put the cutting in a glass of clean water, submerging the cut end. Avoid letting any leaves touch the water, as this can lead to rot.
Step 3: Choose the Right Location
Position the glass in a warm area with bright, indirect sunlight.
Step 4: Change Water Regularly
To keep the cutting healthy, change the water every few days. In a few weeks, you should notice roots beginning to form.
Step 5: Pot the Cutting
Once the roots are at least 2-3 inches long, transfer it to a pot with well-draining potting mix, following the same steps as in the stem cutting method.
3. Air Layering
Air layering is a method that can be used to propagate larger, more established Croton plants. It allows you to grow roots on a stem while it remains attached to the parent plant.
Step 1: Identify a Healthy Stem
Select a healthy branch that can support the new growth.
Step 2: Make a Cut
Make a small incision about one-third of the way through the stem, just below a leaf node. This cut will encourage root development.

Step 3: Apply Rooting Hormone
(Optional) Dip the cut area in rooting hormone to enhance root growth.
Step 4: Wrap with Moist Sphagnum Moss
Cover the wound with damp sphagnum moss. Secure it with plastic wrap to retain moisture.
Step 5: Wait for Roots
Keep the moss moist and check regularly. After a few weeks, you should see roots developing.
Step 6: Cut and Pot
Once a healthy root system is established, cut below the new roots, and pot it in well-draining soil.
Caring for Propagated Croton Plants
Once you’ve successfully propagated your Croton plants, proper care is essential to ensure their health and longevity.
Light and Temperature
Croton plants thrive in bright, indirect sunlight. A temperature range of 65°F to 80°F is ideal.
Watering
Water when the top inch of soil feels dry. Ensure the pot has drainage holes to avoid standing water.
Humidity

Croton plants love humidity. Increase humidity levels with regular misting or by placing a humidifier nearby.
Fertilization
Feed your Croton plant with a balanced liquid fertilizer every 4-6 weeks during the growing season (spring and summer).
Pruning
Regular pruning will encourage bushy growth and improve air circulation. Remove any yellowing leaves to promote overall health.
Common Challenges and Solutions
Problem: Root Rot
Solution: Ensure your cuttings are planted in well-draining soil and avoid overwatering. If roots are mushy, the cutting may be too far gone.
Problem: Leggy Growth
Solution: If your plant is not receiving enough light, it may become leggy. Move it to a brighter location or supplement with grow lights.
Problem: Leaf Drop
Solution: Leaf drop can indicate stress from changes in the environment. Ensure consistent watering and avoid sudden temperature changes.
FAQs About Propagating Croton Plants
1. How long does it take for Croton cuttings to root?
Typically, Croton cuttings take about 3-6 weeks to develop roots, but it can vary based on environmental conditions.

2. Can I propagate Croton in soil instead of water?
Yes, you can propagate directly in soil using stem cuttings, which is often more effective for Croton plants.
3. What is the best time of year to propagate Croton?
Spring and summer are the best times for propagation, as the plant is actively growing during these months.
4. How do I know if my cutting has rooted?
New growth, such as fresh leaves or stems, is a good indicator that rooting has occurred.
5. Can I propagate Croton through seeds?
While possible, seed propagation is not common for Croton plants and can be more complicated than cutting propagation.
6. Do Croton plants require a lot of humidity?
Yes, Croton plants thrive in high humidity. If your home is dry, consider using a humidifier or regular misting.
7. What if my Croton leaves turn brown?
Brown leaves can indicate underwatering, excessive sunlight, or low humidity. Check your plant’s conditions and adjust accordingly.
Conclusion
Successfully propagating Croton plants can be a fun and rewarding endeavor. By following these simple methods and keeping the required care in mind, you can expand your collection and share the joy of these vibrant plants with others. With patience and attention, you will enjoy the beauty of your Croton plants flourishing in your home.