Introduction
Bonsai gardening is not only an art form but also a therapeutic activity that nurtures patience and creativity. Among the diverse variety of bonsai plants, the Jamun tree (Syzygium cumini), known for its lush foliage and fragrant flowers, stands out. This tropical fruit tree, commonly referred to as the black plum, produces small dark berries that are not only delicious but also packed with nutrients. Growing a Jamun bonsai at home can be a rewarding experience, allowing you to enjoy both the aesthetic appeal of a miniature tree and the joy of harvesting fruit. This step-by-step guide will walk you through the process from selecting the right seeds to nurturing your bonsai.
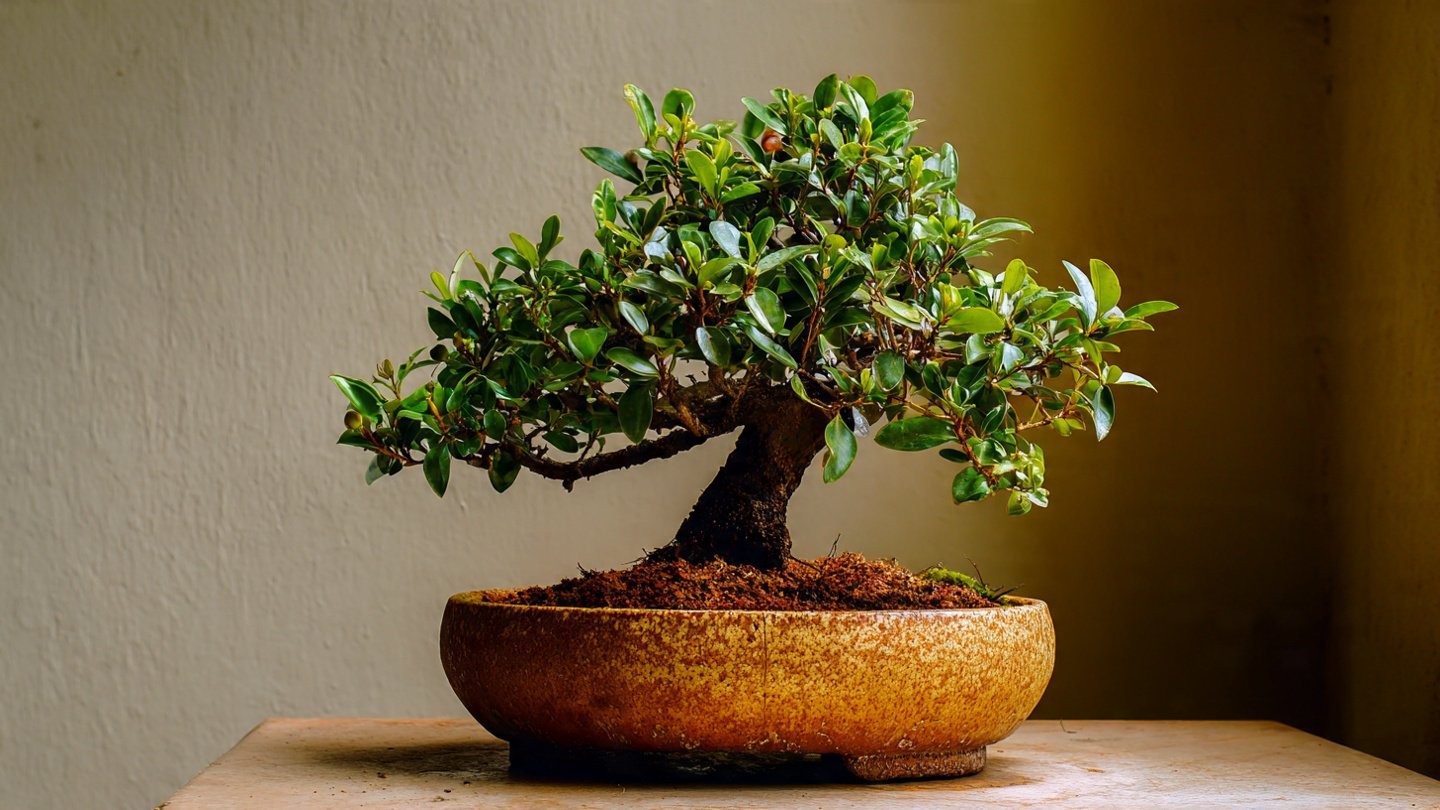
Understanding the Jamun Tree
Latest Posts
- A Comprehensive Guide to Successfully Growing Grape Vines in Your Backyard for Beginners and Experts Alike
- Best Tips for Successful Mango Growth in Containers
- Discover the Simple Steps for Successfully Growing Coriander in a Pot
- Discovering the Ultimate Guide to Growing African Violets from Leaf Cuttings
- Simple Techniques for Successfully Growing Seedless Grapes in Home Gardens
- Ultimate Guide to Growing Balsam Plants Naturally for Vibrant Blooms
- Discover the Secrets to Growing Lush Leek Leaves with Simple Hacks for Beginners
- How to Successfully Cultivate Sweet Cherries in the Unique Climate of Canada
- The Ultimate Guide to Successfully Growing Beautiful Succulent Garden Plants at Home
- A Comprehensive Guide to Growing Dhania from Seeds for Beginners
Characteristics of Jamun
The Jamun tree is native to the Indian subcontinent and thrives in a warm climate. It can grow up to 30 meters tall in its natural environment but can be transformed into a beautiful bonsai with careful pruning and training. The leaves are dark green and glossy, while the flowers are small and white, leading to the formation of dark purple to nearly black fruit, which has a sweet-sour taste.
Benefits of Growing Jamun Bonsai
- Aesthetic Appeal: The robust foliage and unique fruit add character to your indoor or outdoor space.
- Nutritional Value: Jamun fruits are rich in antioxidants, vitamins, and minerals.
- Air Purification: Like most plants, Jamun trees help purify the air, making your environment healthier.

Step 1: Gathering Materials
Before you start, gather the following materials:
- Seeds: Fresh Jamun seeds are ideal. You can also purchase them from a nursery.
- Pot: Choose a container that is shallow and has drainage holes.
- Soil: Use well-draining potting soil; a mix of potting soil, coarse sand, and perlite works well.
- Fertilizer: Use organic fertilizer or a balanced NPK fertilizer.
- Water: Have clean water ready for daily care.
- Tools: Pruning scissors, a small shovel, and a watering can.
Step 2: Preparing the Seeds
- Seed Selection: Choose ripe Jamun fruits for seeds. Look for ones that are well-colored and plump.
- Extracting Seeds: Cut the fruit open to remove the seeds. Rinse them under running water to get rid of the pulp, and then let them dry for a day.
- Soaking Seeds: Soak the cleaned seeds in water for 24 hours. This helps to break dormancy and improves germination rates.

Step 3: Planting the Seeds
- Soil Preparation: Mix your potting soil with coarse sand and perlite to ensure good drainage.
- Planting Depth: Fill the pot with the soil mixture, leaving about an inch of space at the top. Plant the seeds about half an inch deep.
- Watering: After planting, water the pot thoroughly until water drains from the holes at the bottom.
- Location: Place the pot in a warm area with indirect sunlight. Ideal temperatures range from 20°C to 30°C (68°F to 86°F).
Step 4: Germination Process
- Humidity: Maintain high humidity around the seeds by covering the pot with a plastic bag or a humidity dome. Make sure to remove the cover daily for a few minutes to allow airflow.
- Watering: Keep the soil moist but not soggy. Check daily, and lightly water if the top layer of soil feels dry.
- Light: Once you see sprouts (usually within 2-4 weeks), gradually introduce them to more sunlight by moving them to a sunny location for a few hours a day.

Step 5: Growing your Bonsai
Transplanting
- Timing: Once your seedlings are about 2-3 inches tall and have developed a couple of true leaves, they are ready to be transplanted into individual pots.
- Container: Choose smaller containers that will limit root growth and encourage a more compact plant.
- Replanting: Carefully remove the seedlings from their original container and plant them in the new pots with fresh soil. Be gentle to avoid damaging the roots.
Watering and Fertilizing
- Watering Schedule: Water your bonsai regularly but avoid overwatering. Ensure the topsoil dries out slightly between watering sessions.
- Fertilization: After a month, begin fertilizing your plant with a balanced, water-soluble fertilizer bi-weekly during the growing season (spring and summer).
Training Your Bonsai
Training involves pruning and shaping the bonsai to achieve a desired aesthetic.

- Pruning: Start pruning once the plant is about 6 months old. Focus on eliminating any dead or unhealthy branches and any ones that obstruct the design. Use sterile pruning scissors for clean cuts.
- Wiring: Use bonsai wire to guide the branches. Wrap the wire around the branch, gently bending it to achieve your desired shape. Be cautious not to damage the bark.
Step 6: Caring for Your Jamun Bonsai
Light Requirements
Jamun bonsai trees thrive in full sun. Place your bonsai outdoors in a spot where it receives at least 6 hours of sunlight a day. If you live in a cooler climate, consider bringing it indoors during winter months.
Humidity and Temperature
Maintain high humidity levels, especially if your bonsai is indoors. You can achieve this by placing a tray of water near the plant or misting it regularly. The ideal temperature should be between 20°C-30°C (68°F-86°F).
Pest and Disease Management
Regularly inspect your bonsai for pests like aphids or spider mites. If you spot any, treat them with neem oil or insecticidal soap. Ensure adequate airflow around the plant to prevent fungal diseases.

Step 7: Harvesting Jamun Fruits
After a few years, your Jamun bonsai may start producing fruit.
- Fruit Development: The fruit typically develops in the summer months. As they ripen, you will notice a change in color from green to a deep purple.
- When to Harvest: Wait until the fruits are fully ripe before harvesting. They should be slightly soft to the touch.
Conclusion
Growing a Jamun bonsai at home is a fulfilling venture that blends gardening with artistic expression. With patience and care, you can transform a small seed into a thriving miniature tree that not only beautifies your space but also provides delicious fruit. Remember that each bonsai is unique, and part of the joy lies in watching it grow and change over time.
So why wait? Start your Jamun bonsai journey today! Enjoy the process, and don’t forget to share your experiences with fellow gardeners. Happy growing!