Growing your own vegetables at home can be incredibly rewarding, both for the satisfaction of cultivating a plant and for the fresh produce that follows. Ridge gourd (Luffa acutangula), also known as sponge gourd or angled gourd, is an excellent option for beginners. This versatile vegetable not only adds flavor to your dishes but is also relatively easy to grow.
In this guide, we will walk you through the best practices for growing ridge gourd at home, covering everything from soil requirements to pest management, as well as answering some frequently asked questions at the end.
Latest Posts
- A Comprehensive Guide to Successfully Growing Grape Vines in Your Backyard for Beginners and Experts Alike
- Best Tips for Successful Mango Growth in Containers
- Discover the Simple Steps for Successfully Growing Coriander in a Pot
- Discovering the Ultimate Guide to Growing African Violets from Leaf Cuttings
- Simple Techniques for Successfully Growing Seedless Grapes in Home Gardens
- Ultimate Guide to Growing Balsam Plants Naturally for Vibrant Blooms
- Discover the Secrets to Growing Lush Leek Leaves with Simple Hacks for Beginners
- How to Successfully Cultivate Sweet Cherries in the Unique Climate of Canada
- The Ultimate Guide to Successfully Growing Beautiful Succulent Garden Plants at Home
- A Comprehensive Guide to Growing Dhania from Seeds for Beginners
Understanding Ridge Gourd
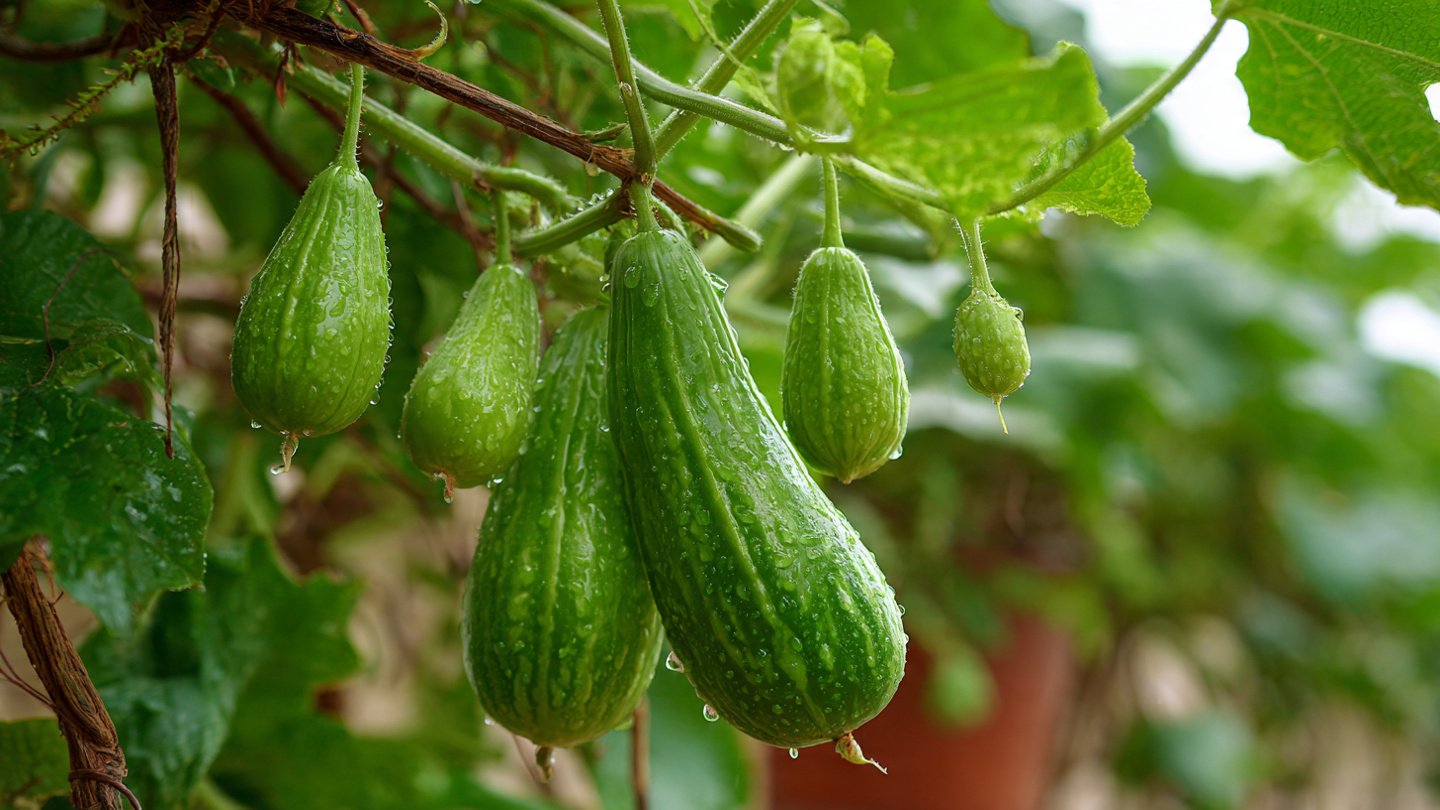
Ridge gourd is a tropical and subtropical vine that thrives in warm climates. It is known for its long, green, ridged fruits, which can be harvested at a young stage for cooking or left to mature for use as a sponge in bathing. The plant is fast-growing and can be trained on trellises or fences, making it a suitable choice for limited gardening space.
Benefits of Ridge Gourd
-
Nutritional Value: Ridge gourd is low in calories and rich in vitamins and minerals. It contains vitamin C, dietary fiber, and several antioxidants.
-
Culinary Uses: It can be used in various dishes, from stir-fries and curries to soups and smoothies.
-
Space-Efficient: As a climbing plant, ridge gourd can be grown vertically, saving ground space.
Best Practices for Growing Ridge Gourd
1. Selecting the Right Location
Choose a spot in your garden that receives full sun for at least 6-8 hours a day. Ridge gourd thrives in warm temperatures (20-30°C or 68-86°F), so avoid planting it in shaded areas.

2. Soil Preparation
Soil Type
Ridge gourd prefers well-drained, loamy soil rich in organic matter. A pH level between 6.0 and 7.0 is ideal. Heavy clay soil can lead to poor growth, while sandy soil may require additional organic matter to retain moisture.
Soil Preparation Steps
-
Test the Soil: Use a soil test kit to check the pH and nutrient levels.
-
Amend the Soil: Incorporate plenty of well-rotted compost or manure to increase fertility and improve drainage.
-
Tilling: Till the soil to a depth of about 30cm (12 inches) to aerate it and break up clumps.
3. Selecting Seeds or Seedlings
You can either purchase ridge gourd seeds from a local nursery or collect them from ripened fruits. If starting from seeds, ensure they are fresh and from a reliable source.
4. Planting
When to Plant
The best time to plant ridge gourd is after the last frost when temperatures have warmed up. In most regions, this is typically in late spring to early summer.

Planting Steps
-
Seed sowing: Plant the seeds about 1 inch deep in rows spaced 3 feet apart. If using seedlings, plant them at the same depth as they were in their pots.
-
Spacing: If planting multiple seedlings, maintain a distance of about 2 to 3 feet between each plant to allow for air circulation and growth.
5. Watering
Ridge gourd requires consistent moisture, especially during the fruit-setting stage.
-
Frequency: Water the plants regularly, approximately twice a week, ensuring that the soil remains moist but not waterlogged.
-
Mulching: Apply organic mulch to retain soil moisture and regulate soil temperature.
6. Fertilization
Fertilizing ridge gourd helps encourage vigorous growth and fruit production.
-
Initial Fertilization: Mix a balanced fertilizer or compost into the soil before planting.
-
Ongoing Fertilization: After about 4-6 weeks, apply a nitrogen-rich fertilizer every month to support leaf and vine growth.

7. Support for the Vines
Ridge gourd is a climbing plant, so providing support is essential.
-
Trellising: Use a trellis, fence, or even strong tomato cages to support the vines. Ensure the structure is sturdy enough to handle the weight of the mature fruit.
-
Training: As the vines grow, gently guide them onto their support system to encourage vertical growth.
8. Pest and Disease Management
Ridge gourds can attract various pests and diseases. Here’s how to manage them:
Common Pests
-
Aphids: Spray plants with a mixture of water and a few drops of dish soap to remove them.
-
Caterpillars: Handpick or use organic insecticides to control infestations.

Diseases
-
Powdery Mildew: Ensure good air circulation and avoid overhead watering to prevent this fungal disease.
-
Root Rot: Make sure not to overwater and provide well-drained soil.
9. Harvesting
Harvesting ridge gourd at the right time is crucial.
-
Timing: Fruits can be harvested when they are 6-8 inches long, typically about 2-3 weeks after flowering.
-
Method: Use sharp scissors or pruning shears to cut the gourd, leaving a small section of stem attached.
10. Post-Harvest Care
Once harvested, ridge gourds can be stored for several days in a cool, dry place. They are best consumed fresh but can also be blanched and frozen for later use.

FAQs
1. How long does it take for ridge gourd to grow?
From planting to harvest, ridge gourd typically takes about 60 to 90 days, depending on the variety and growing conditions.
2. Can ridge gourd be grown in containers?
Yes, ridge gourd can be successfully grown in large containers (at least 5 gallons) as long as there is adequate support for the vines.
3. What are the best companion plants for ridge gourd?
Ridge gourd grows well with plants like corn, beans, and marigolds, which can deter pests and promote healthy growth.
4. How do I know when to harvest ridge gourd?
Ridge gourd should be harvested when it is still tender and the skin has a vibrant green color. The fruit should easily yield to gentle pressure.
5. Can ridge gourd be grown year-round?
In tropical climates, ridge gourd can be grown year-round. In temperate regions, it is best grown during the warm months.
Conclusion
Growing ridge gourd at home is a fulfilling and enjoyable process. By following these best practices, beginners can cultivate a healthy crop that not only enhances their meals but also offers numerous health benefits. Remember to monitor your plants consistently, and don’t hesitate to experiment with your gardening techniques as you become more comfortable. Happy gardening!