The Jamun tree (Syzygium cumini), also known as black plum or Indian blackberry, is prized not only for its delicious fruit but also for its magnificent shade and ornamental value. Propagating Jamun from seed is an excellent way to grow your own tree, and it’s easier than you might think. In this comprehensive guide, we’ll explore the process step by step, ensuring you have all the information needed for successful propagation.
Understanding Jamun
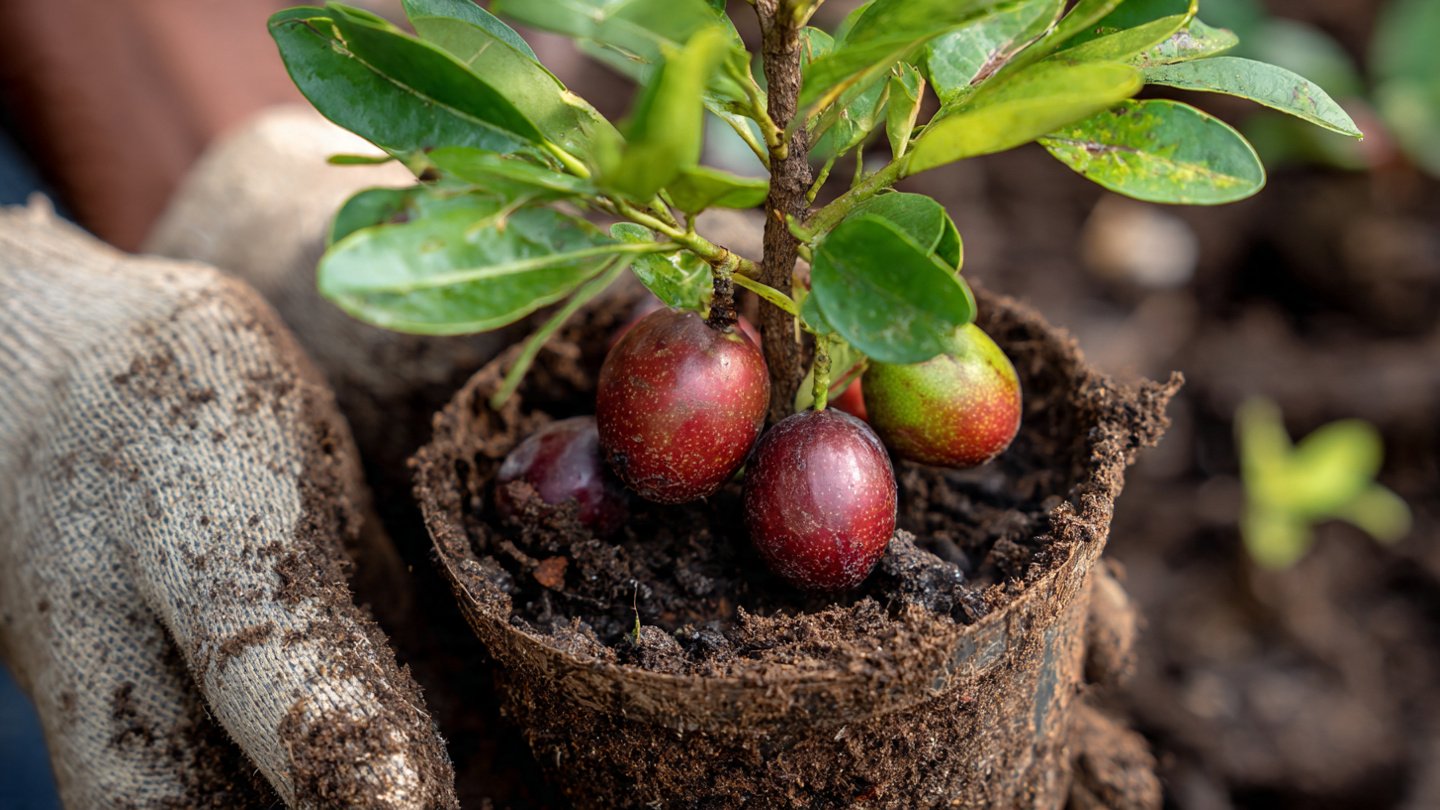
Before diving into propagation techniques, it’s essential to understand the characteristics of the Jamun tree. Native to the Indian subcontinent, this evergreen tree can grow up to 30 meters high. It features dense foliage, elliptical leaves, and small white to pale yellow flowers, which turn into purple-black fruit rich in antioxidants and vitamins.
Latest Posts
- A Comprehensive Guide to Successfully Growing Grape Vines in Your Backyard for Beginners and Experts Alike
- Best Tips for Successful Mango Growth in Containers
- Discover the Simple Steps for Successfully Growing Coriander in a Pot
- Discovering the Ultimate Guide to Growing African Violets from Leaf Cuttings
- Simple Techniques for Successfully Growing Seedless Grapes in Home Gardens
- Ultimate Guide to Growing Balsam Plants Naturally for Vibrant Blooms
- Discover the Secrets to Growing Lush Leek Leaves with Simple Hacks for Beginners
- How to Successfully Cultivate Sweet Cherries in the Unique Climate of Canada
- The Ultimate Guide to Successfully Growing Beautiful Succulent Garden Plants at Home
- A Comprehensive Guide to Growing Dhania from Seeds for Beginners
Benefits of Propagating Jamun from Seed
- Cost-Effective: Seeds are generally cheaper than purchasing mature plants.
- Genetic Diversity: Growing from seed allows for genetic variation, which can lead to unique fruit characteristics.
- Personal Connection: There’s a certain satisfaction that comes from nurturing a tree from its very beginning.
Step-by-Step Guide to Propagate Jamun from Seed
Step 1: Collecting Seeds
Choose Ripe Fruits: The first step in propagating Jamun is to collect the seeds from ripe fruits. Look for fully mature, dark purple-black Jamun fruits. These are usually available during the summer and monsoon seasons.

Prepare the Seeds: Once you have gathered the fruits, remove the seeds from the fleshy pulp. You can achieve this by either:
- Maceration: Soak the fruits in water for a few hours to soften them, making it easier to extract the seeds.
- Manual Extraction: Simply cut the fruits open and scoop out the seeds.
Step 2: Cleaning the Seeds
After extraction, it’s crucial to clean the seeds thoroughly. Rinse them under running water to remove any remaining pulp and juice. Now, let them dry in a shaded area for a few hours. Cleaning ensures that there’s no fungal growth and facilitates better germination.
Step 3: Soaking the Seeds
Soaking the seeds can speed up the germination process. Place the cleaned seeds in lukewarm water and let them soak for 24-48 hours. This will help soften the seed coat, making it easier for the seedling to emerge.
Step 4: Preparing the Right Growing Medium
Selecting the Soil: Jamun seeds thrive in well-draining, rich soil. You can prepare a mixture by combining:

- Garden Soil: Provides necessary nutrients.
- Compost: Enhances soil fertility.
- Sand or perlite: Ensures proper drainage.
A good mix would be 2 parts garden soil, 1 part compost, and 1 part sand or perlite.
Container Selection: You can use seed trays, pots, or any other containers that promote drainage. Ensure that the containers have holes at the bottom to allow excess water to escape.
Step 5: Sowing the Seeds
Planting Depth: Make small holes (about 1 inch deep) in the soil. Place one seed in each hole and cover it lightly with soil. Avoid overcrowding, as this can hinder growth.
Watering: After sowing, gently water the soil to ensure it is damp but not soggy. Use a spray bottle or gentle watering can to avoid displacing the seeds.

Step 6: Providing the Right Environment
Temperature and Light: Jamun seeds prefer warm conditions. Maintain a temperature of around 25-30°C (77-86°F). Place the containers in a bright area but avoid direct sunlight for the initial week or two.
Humidity: Covering the containers with plastic wrap can help retain humidity. Make sure to poke small holes for ventilation to prevent mold growth.
Step 7: Germination Time
Seeds usually take 2 to 4 weeks to germinate, depending on environmental conditions. Be patient and maintain optimal moisture levels during this period.
Step 8: Transplanting Seedlings
Once the seedlings reach about 4-6 inches in height and develop a few sets of true leaves, they are ready for transplantation.
- Select a Location: Choose a spot with well-draining soil and plenty of sunlight.
- Prepare the Hole: Dig a hole twice the size of the root ball to accommodate the growing roots.
- Transplant the Seedlings: Carefully remove each seedling from the container by holding it by the leaves and avoiding damage to the roots. Place it in the hole and cover it gently with soil. Water immediately after transplanting.

Step 9: Caring for Young Jamun Trees
Watering
For the first few months, ensure that the young trees receive sufficient moisture, especially during dry spells. Water them regularly, but don’t let the soil become waterlogged.
Mulching
Applying a layer of organic mulch around the base will help retain moisture, suppress weeds, and regulate soil temperature.
Fertilizing
After a few months, apply a balanced fertilizer to support healthy growth. Organic options like compost or well-rotted manure work well, but you can also use commercial fertilizers following the recommended guidelines.
Step 10: Pruning
Once the tree reaches a certain height, consider light pruning to shape the tree and remove any dead or diseased branches. This encourages healthy growth and airflow.

Step 11: Pest and Disease Management
Monitor your Jamun tree for pests like aphids, scales, and spider mites. Organic insecticides or neem oil can be used for treatment. Fungal diseases can be managed through proper watering techniques and adequate airflow around the tree.
Step 12: Enjoying the Fruits of Your Labor
Typically, Jamun trees start bearing fruit around 8-10 years after planting. However, with proper care, you can enjoy the shade and beauty of your tree long before it starts producing fruit.
Additional Tips for Success
- Patience is Vital: The process of growing a tree from seed is lengthy, but the reward of watching it mature is immensely fulfilling.
- Climate Considerations: Jamun trees thrive in tropical and subtropical climates, so ensure that your location is suitable.
- Cross-Pollination: For better fruiting, plant more than one tree, as cross-pollination can enhance yield.
Conclusion
Propagating Jamun from seed is a rewarding endeavor that requires patience, care, and attention to detail. By following this step-by-step guide, you’ll be well-equipped to nurture a Jamun tree that can provide shade, beauty, and delicious fruit for years to come. Whether you’re a seasoned gardener or a novice, cultivating your own Jamun tree from seed is an incredible journey worth embarking on. Happy planting!