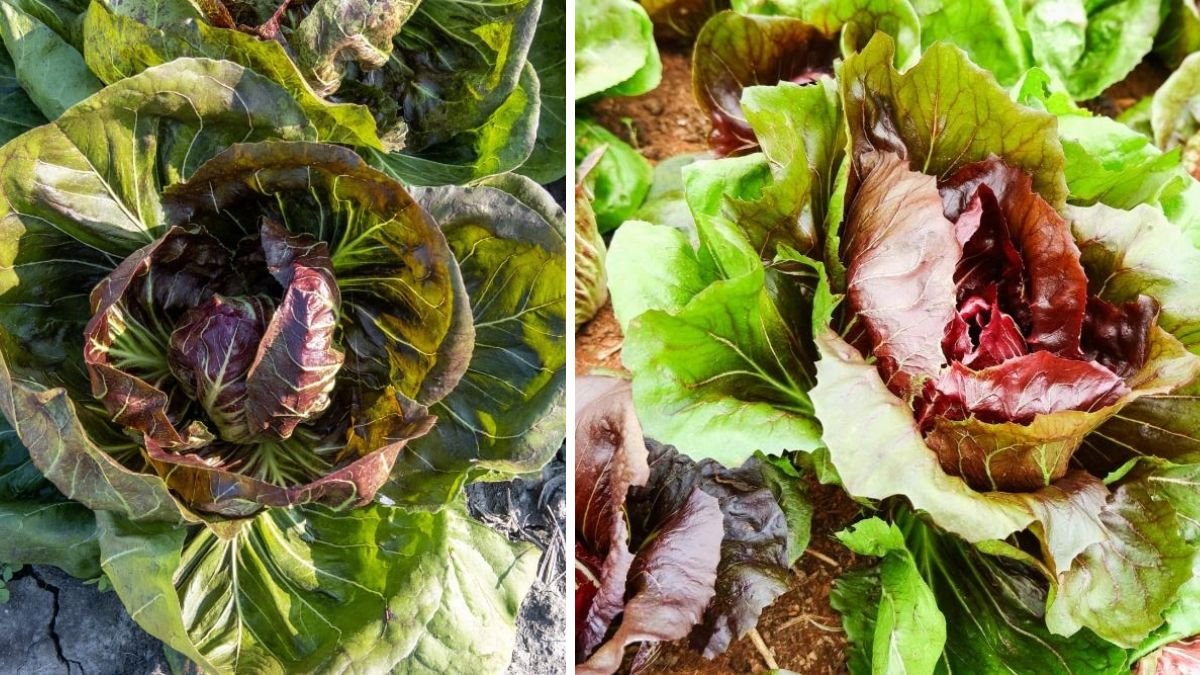
Radicchio, known for its striking red and white leaves and peppery taste, is increasingly being recognized as a versatile addition to modern cuisine. This leafy green not only enhances salads but also elevates various dishes with its unique flavor. Many home gardeners find themselves enchanted by its beauty and taste, prompting the question: how can one grow radicchio greens effortlessly in their backyard throughout the year?
In this article, we’ll delve into the best practices and simple hacks you can use to cultivate radicchio in your garden, ensuring a bountiful supply all year long.
Latest Posts
- A Comprehensive Guide to Successfully Growing Grape Vines in Your Backyard for Beginners and Experts Alike
- Best Tips for Successful Mango Growth in Containers
- Discover the Simple Steps for Successfully Growing Coriander in a Pot
- Discovering the Ultimate Guide to Growing African Violets from Leaf Cuttings
- Simple Techniques for Successfully Growing Seedless Grapes in Home Gardens
- Ultimate Guide to Growing Balsam Plants Naturally for Vibrant Blooms
- Discover the Secrets to Growing Lush Leek Leaves with Simple Hacks for Beginners
- How to Successfully Cultivate Sweet Cherries in the Unique Climate of Canada
- The Ultimate Guide to Successfully Growing Beautiful Succulent Garden Plants at Home
- A Comprehensive Guide to Growing Dhania from Seeds for Beginners
Understanding Radicchio
Before we jump into the growing process, it’s essential to understand what radicchio is and its growing habits. Radicchio (Cichorium intybus) is a member of the chicory family, known for its slightly bitter and spicy flavor. It thrives in temperate climates and is most commonly grown in spring and fall. Understanding its growth cycle and environmental needs is paramount for successful cultivation.
Choosing the Right Variety
Radicchio comes in several varieties, each with its unique characteristics:
- Chioggia: This round, red variety is the most common and offers a sweet flavor.
- Treviso: Known for its elongated shape and deep red color, it has a slightly stronger taste.
- Castelfranco: This less common variety is known for its variegated leaves, combining bitterness with sweetness.
Selecting a variety that best suits your taste and garden conditions is the first step toward successful gardening.
Soil Preparation
A successful garden begins with quality soil. Radicchio prefers well-drained, nutrient-rich soil with a pH between 6.0 and 6.8.

Steps to Prepare Your Soil:
-
Testing pH: You can purchase a soil testing kit from your local garden center. Adjust your soil’s pH by adding lime (to raise pH) or sulfur (to lower pH) as needed.
-
Adding Organic Matter: Incorporate compost or well-rotted manure into your soil. This boosts nutrient availability and improves soil structure.
-
Tilling: Tilling the soil to a depth of about 12 inches will help aerate it and mix in the organic matter effectively.
Sowing Seeds
Now that your soil is ready, it’s time to sow radicchio seeds. The key to continuous growth lies in your sowing schedule.
Steps for Sowing Radicchio Seeds:
-
Timing: For a year-round harvest, you’ll need to stagger your sowing. Start indoors in late winter for early spring planting. Once the danger of frost has passed, you can direct sow in the garden.
-
Spacing: Plant seeds about 1/4 inch deep and space them 12 to 18 inches apart. This allows adequate room for each plant to grow and minimizes competition for resources.
-
Watering: Keep the soil consistently moist but not soggy. A gentle spray or mist will ensure the seeds don’t get displaced.
Implementing Season Extension Techniques

To enjoy radicchio greens year-round, it’s crucial to integrate techniques for extending the growing season, especially in colder months. Here are some effective hacks:
1. Use Row Covers
Lightweight fabric row covers can protect your plants from chilling temperatures while allowing sunlight and moisture to penetrate.
2. Cold Frames
Cold frames are simple structures that trap heat and create a warmer microclimate. You can build one easily using old windows or purchase a prefabricated version.
3. Planting in Containers
Container gardening allows for mobility. Place pots in sheltered areas to protect from frost and harsh weather, and move them indoors during extreme conditions.
4. Intercropping
Grow radicchio alongside slower-growing crops like garlic or onions. This strategy maximizes garden space and provides some natural protection.
Fertilizing Radicchio
While radicchio thrives in nutrient-rich soil, it can benefit from added nutrients during its growth period.
Recommended Fertilization Schedule:
-
Initial Application: Use a balanced fertilizer when you first plant the seeds.

-
Mid-Season Boost: After about six weeks, follow up with a liquid fertilizer rich in nitrogen to sustain vibrant leaf color and growth.
-
Final Growth Phase: A phosphorus-rich fertilizer can be applied in the last few weeks of growth to encourage bulb development.
Pest and Disease Management
Radicchio is relatively pest-resistant, but a few common pests may pose threats such as aphids, slugs, and caterpillars.
Preventative Measures:
-
Companion Planting: Encourage beneficial insects by planting marigolds or other deterrent plants alongside your radicchio.
-
Regular Inspections: Monitor your plants weekly for signs of pests, and take immediate action if detected, using organic insecticides or handpicking.
-
Crop Rotation: Rotating radicchio with other crops every year can reduce the likelihood of disease and pest infestations.
Harvesting Radicchio
Knowing when and how to harvest your radicchio is crucial for optimal flavor. Typically, radicchio is ready for harvest when heads are firm and have reached a mature size.
Steps for Harvesting:

-
Timing: Harvest in the morning when leaves are crisp.
-
Method: Use a sharp knife to cut the base of the head, ensuring you don’t damage surrounding plants.
Storing Radicchio
Proper storage techniques will keep your harvested radicchio fresh longer.
Storage Tips:
-
Refrigeration: Place washed heads in a perforated plastic bag, and store them in the refrigerator crisper drawer. They can last up to two weeks.
-
Freezing: For long-term storage, blanch the leaves in boiling water for a minute, then plunge them into icy water. Drain and freeze in airtight bags.
Conclusion
Growing radicchio in your backyard can be a fulfilling and easy endeavor when you implement the right strategies. By choosing the suitable variety, preparing your soil effectively, and applying season extension techniques, you can enjoy a plentiful supply of these vibrant greens all year round. Gardening is not only about cultivating plants but also about cultivating joy in the process.
FAQs
1. Can I grow radicchio in pots?
Yes, radicchio can be successfully grown in containers. Ensure your pots are deep enough (at least 12 inches) and use good-quality potting soil.

2. How long does it take for radicchio to grow?
Radicchio typically takes about 70 to 90 days from sowing to harvest, depending on the variety and growing conditions.
3. What are the ideal temperature conditions for growing radicchio?
Radicchio flourishes in cooler temperatures, ideally between 60°F to 70°F. It can handle slight frosts but should be protected from extreme cold.
4. How often should I water radicchio?
Radicchio requires regular watering, especially during dry spells. Aim for about 1 inch of water per week, adjusting based on rainfall.
5. Can I grow radicchio from store-bought plants?
Yes, you can cultivate radicchio from transplants or seeds purchased from stores. Just ensure they are healthy and free from pests.
By following these tips and utilizing simple hacks, you can easily incorporate radicchio into your gardening repertoire, enhancing your meals and bringing a touch of vibrancy to your backyard all year. Happy gardening!